device
Devices are called components after the canvas on which they are placed.
Both the schematic diagram and PCB of EasyEDA Pro use the template mechanism. After placing a device on the canvas, the device will enter the project library as the template of the project. When placing the same device in the future, the template of the project library will be used first, and will not be used by the device. Affected by the update of the library.
If you want to update the project library template, you can go to: Top Menu - Design - Update Symbol, or Canvas Component, right-click menu - Update Symbol to update the device, symbol or footprint of the project.
Device dialog
Entry: Top Menu - Place - Devices. or top toolbar - place device icons. Shortcut key SHIFT + F.
The search engine supports the dual engines of LCSC Mall and EasyEDA Pro. When one of the engines does not meet the search expectations, it can be switched. The LCSC Mall engine can only search for devices in the system library.
The default is the details list, which supports parameter filtering. You can also switch to the table list.

The table list supports preview of physical images, symbols, footprints, and 3D model preview images.

When you click to place a device, the device dialog box will disappear automatically, and when you cancel the Place, it will be displayed waiting for a new device to be selected. In the table list mode, you can also double-click the library list to place it.
Tip: Use the ESC key to close the drop dialog.
Bottom component library
At the same time, it supports another entry to place devices, the bottom panel, and the shortcut key "S"

Select a device and click the Place button, or double-click to place it.
In the project library, you can edit the device, symbol, and footprint template content of the current project. After the update, the corresponding drawing page and PCB will be automatically refreshed.
When placing more devices than the set number, there will be a message prompt. 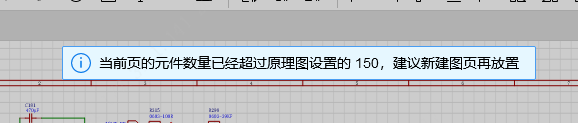
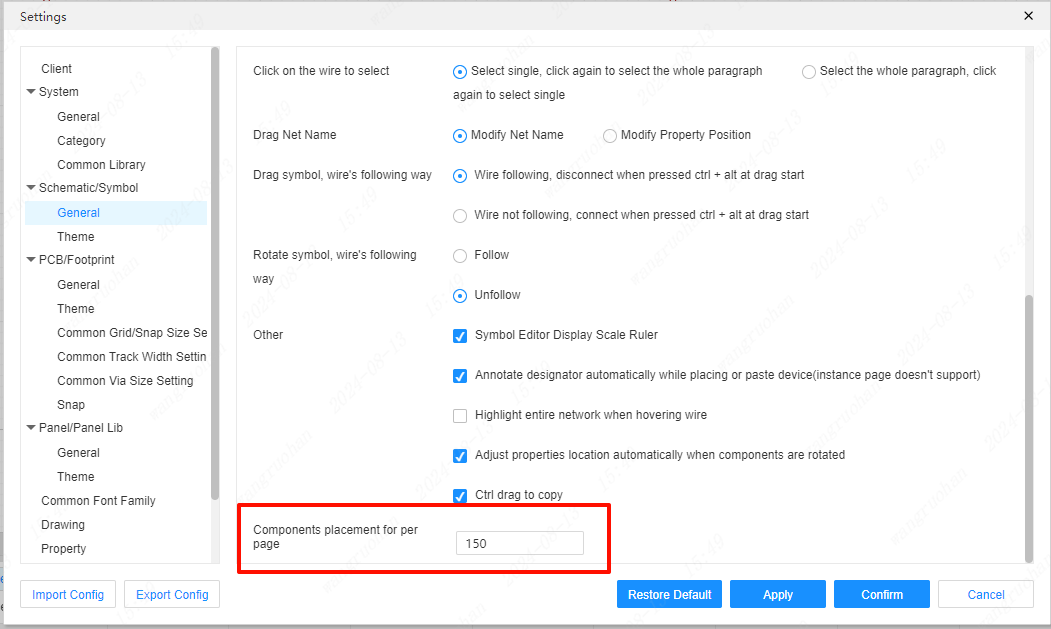
At present, the schematic diagram of EasyEDA Pro does not use the same new engine as the PCB, so it is not recommended to place more than 150 components per page, otherwise it will be stuck. If the number of components is large, it is recommended to create a new drawing page.
Component properties
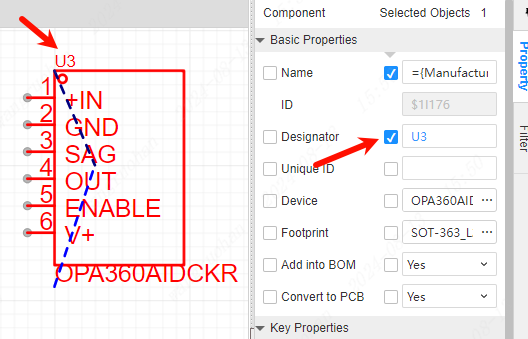
After clicking the component, the properties of the component can be modified and added in the property panel on the right.
Attribute name description:
- Name: This is equivalent to the remark of the component, and usually does not need to be filled in.
- ID: ID used internally by the editor.
- Unique ID: The ID associated with the PCB. The component corresponding to the PCB is determined by this ID. It will be automatically assigned when the PCB is updated, or it can be entered manually.
- Add BOM: whether it can be exported in the BOM.
- Go to PCB: Whether it is possible to go to PCB.
- Tag: Component tag. When the device is placed, the bit number is automatically assigned by default, which can be set in the setting-schematic diagram. Components of a multipart or sublibrary are not aware of automatic tagging.
- Device: The device this component belongs to.
- Symbol: The symbol template associated with this component.
- footprint: The footprint template associated with this component can be clicked to replace the new footprint.
- Device Properties: Properties filled in when creating a new device.
- Custom Properties: Custom properties added to components after opening the schematic. Add a custom attribute name, you can add it in: Settings - Attributes.
Check the attribute name or attribute value to display on the canvas.
When the canvas is clicked on a property, an indicator line will appear. This indicator can be turned off at: Settings - Schematic Settings.
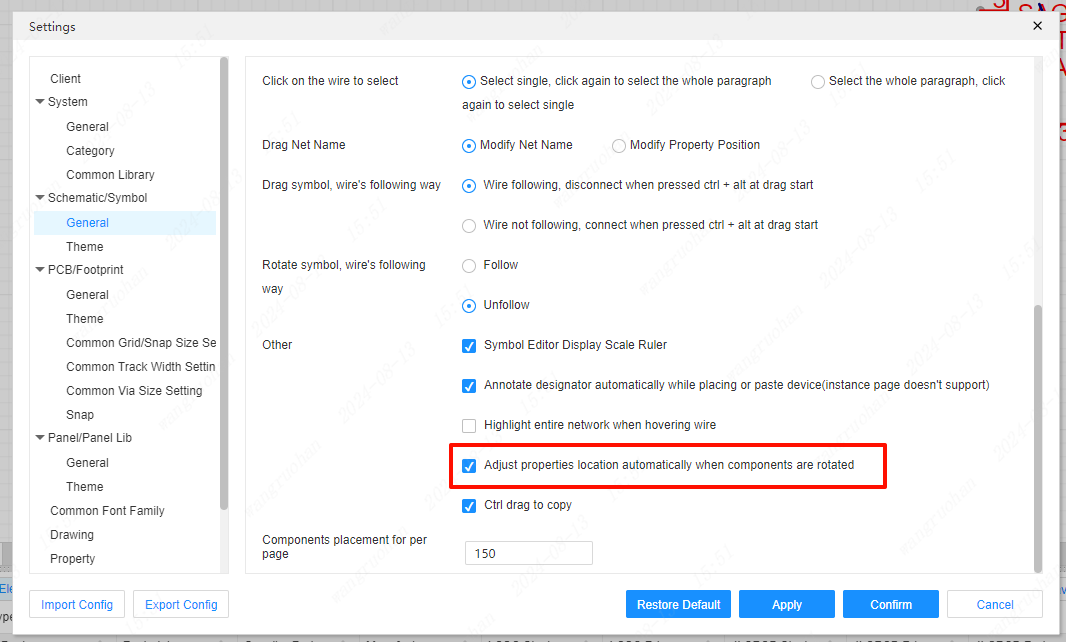
When the component is rotated, the position of the attribute is automatically adjusted by default, and it can also be turned off in the settings: 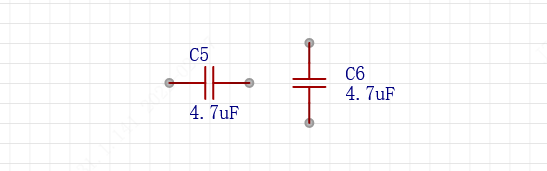
You can also set attribute positions in batches through the attribute position function: Top Menu - Layout - Attribute Position. 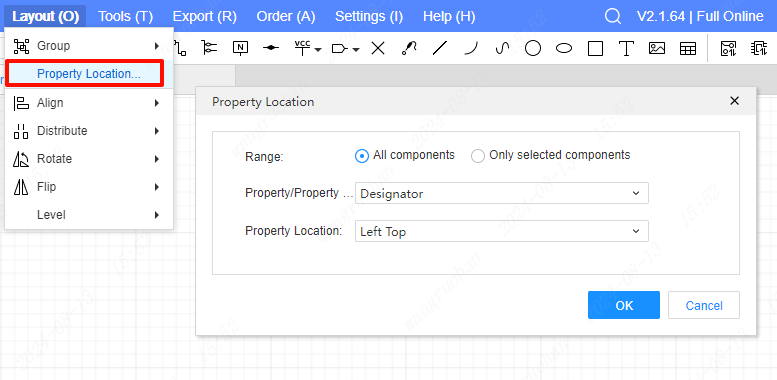
If you want to preset the location of attributes such as the tag number, you can set the position after displaying the tag number and other attributes on the canvas in the left property panel when creating a new symbol. When placing the device on the canvas, it will be preset according to the symbol. position is displayed, but will be readjusted after rotation. 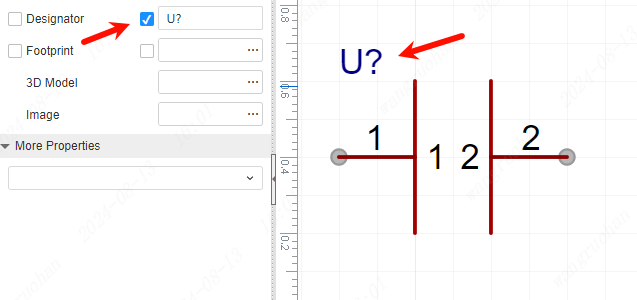
Component right-click menu
After selecting a component, the right-click menu is supported to provide some commonly used functions such as operations on components.
View product details: The product details page of LCSC Mall will be opened.
View Data Sheet: The web page will be opened according to the link of the attribute "Data Sheet".
Update Device: Opens the Device Update dialog.