Group
Group
The panel supports the creation of group, which is convenient for establishing group relationships between elements. After combining multiple scattered elements, they can be moved as a whole on the canvas. Editing the elements in the group needs to enter the group mask, and only the elements in the group mask can be operated, which can effectively block the interference of other non-combined elements.
Function entry
Top menu
At least one object must be selected on the panel canvas to create a group.
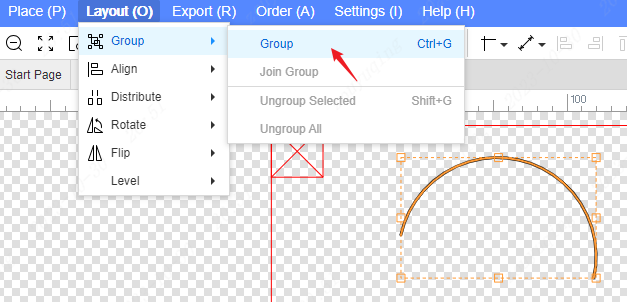
- Select Element - Top Menu - Layout - Group - Group
- Global menu shortcut:Ctrl+G
Right click menu
After selecting the element on the canvas, right-click the mouse to operate the submenu group of the group menu to create a new group. 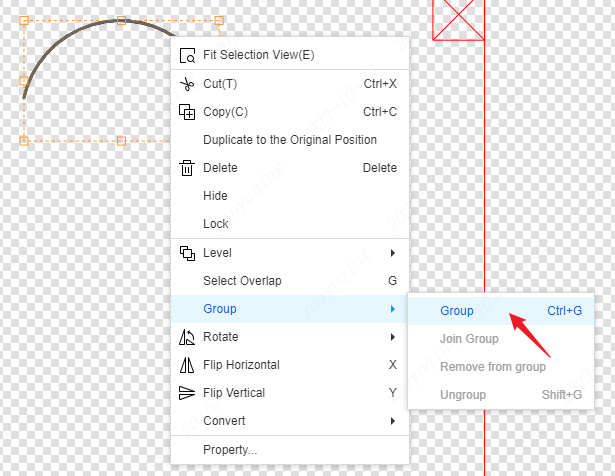
Instructions for use
Create a group
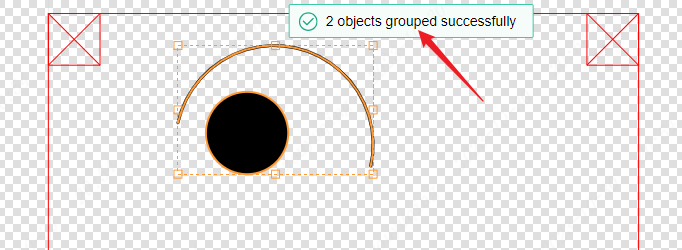
Create a new one by using the top menu or right-click menu or pressing Ctrl + G. A short prompt will appear in the center of the canvas to indicate the successful group. The elements in the same group will remain as a whole on the canvas. Clicking on any object in the group will select the entire group.
Panel supports nested group . When the selected object contains a group, you can continue to operate to create a new group, generating a new parent group containing the original selected subgroup. Note: A sub-group is a sub-object under the parent group, and the elements in the sub-group maintain the original group relationship. 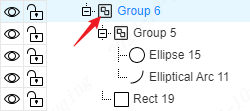
Join group
There must be a group and at least one object must be selected to operate on joining the group.
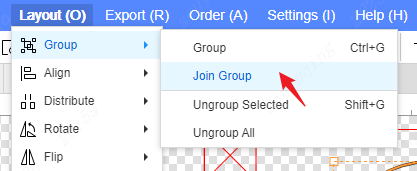
- Select Object - Top Menu - Layout - group - Join group
Or
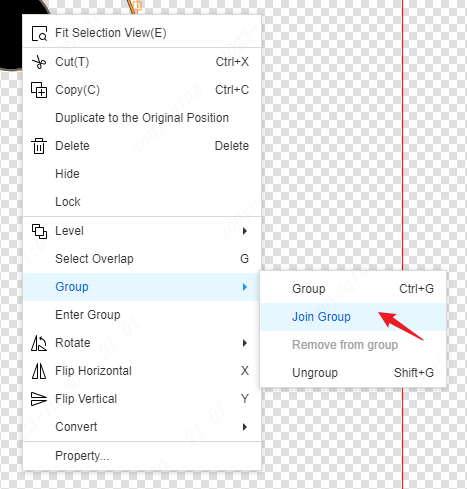
- Select Object - Right Click Menu - group - Join group
After the operation to join a group, the Add to group selection pop-up window will pop up. The pop-up window displays the names of all existing groups, and the tree structure is convenient for intuitive preview of the relationship between nested groups.
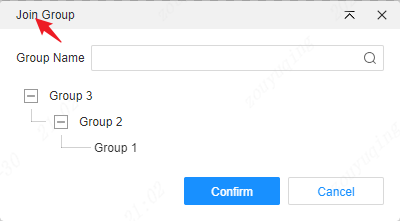
After selecting the group name to be added, click the Confirm button, and a short prompt in the center of the canvas will indicate that the group has been successfully added.

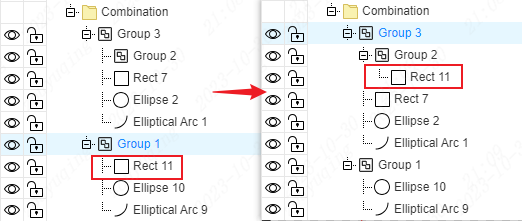
Note: Any object can be added to any group, even if it already exists in a group, it will be moved out of the group and then added to the target group (panel group allow nesting and cannot cross into a loop).
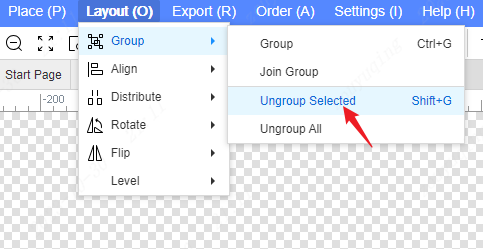
Ungroup selected
You must select when there is a group before you can operate to cancel the group.
- Select Group - Top Menu - Layout - Group - Ungroup selected
- Global shortcut:Shift+G
Or
- Select Group - Right Click Menu - Group - UnGroup selected
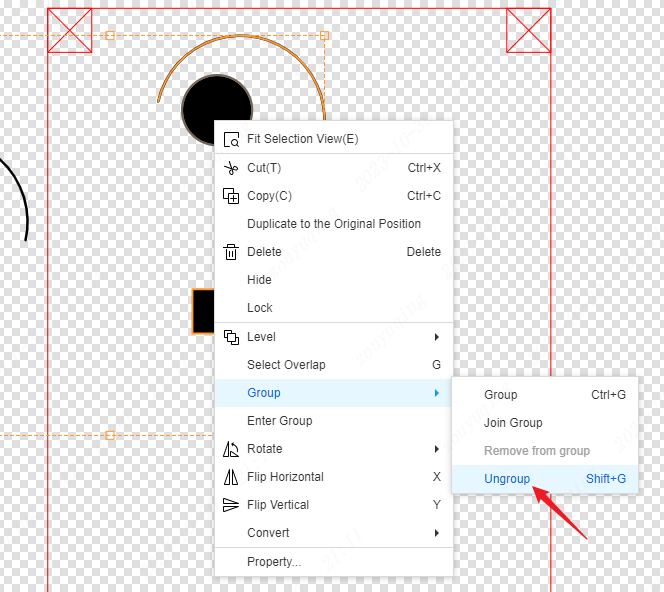
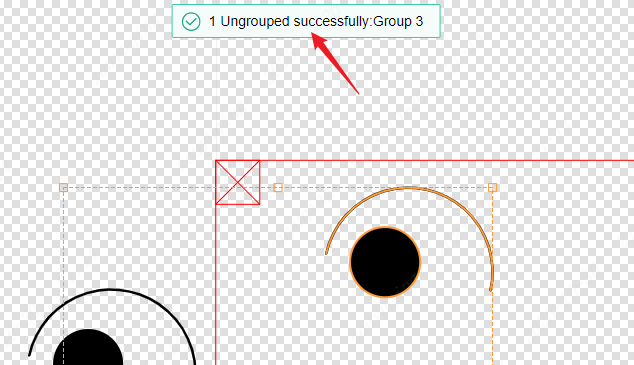
After the operation cancels the group, all the selected combinations will be canceled, and the short prompt in the center of the canvas will cancel the group successfully.
Note:
To cancel a combination, you must select the entire combination to operate. Selecting only the objects within the combination cannot operate to cancel the combination state of the combination it is in.
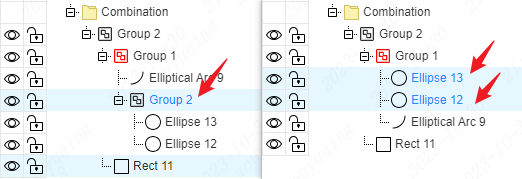
Cancel the combination status of the sub-combination, and the objects in the original sub-combination will be moved to the parent group of the sub-combination at the previous level.
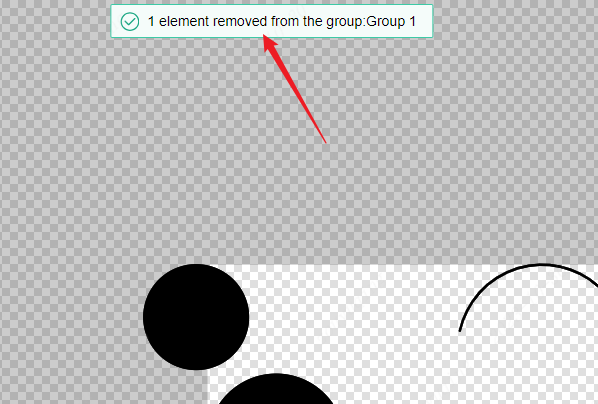
Removal from group
You must select the objects in the group before you can operate to remove them.
- Select Object - Right Click Menu - Group - Remove from group

After the operation is removed from the combination, the selected object will be directly removed from all combinations, and the short prompt in the center of the canvas indicates that the object has been successfully removed from the combination.
Ungroup all
- Top Menu - Layout - Gorup - Ungroup all
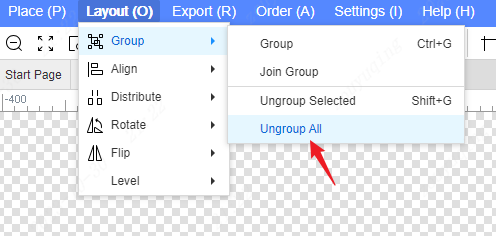
Operation Cancel All Combinations will cancel all existing combination statuses on the current panel canvas, and a short prompt in the center of the canvas will indicate that all combinations have been successfully canceled.
Gorup mask
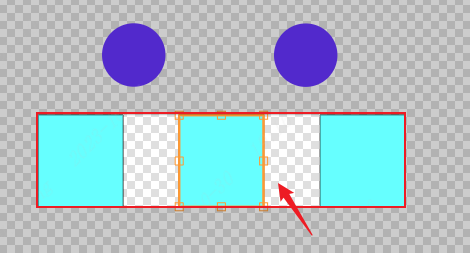
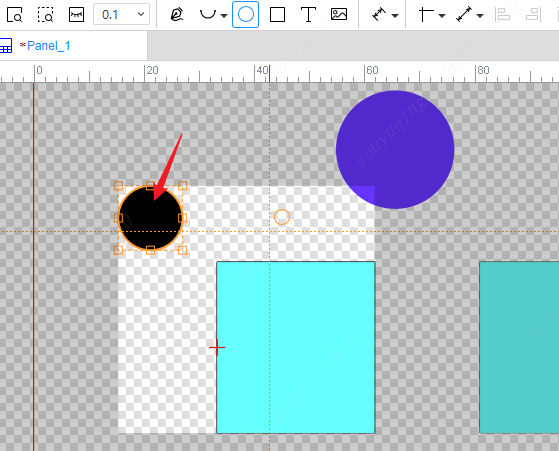
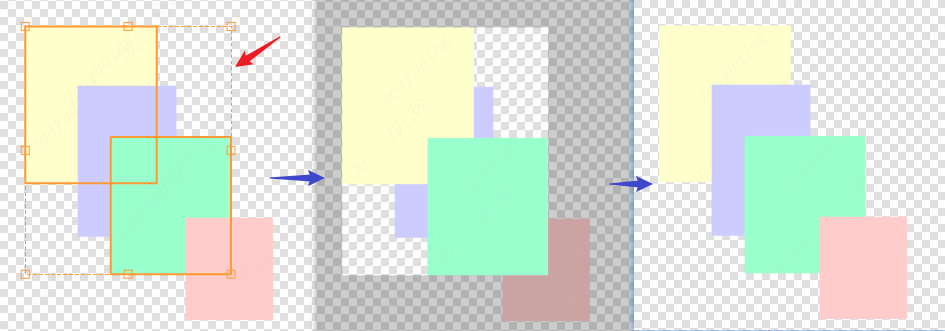
In order to facilitate the operation of objects in the combination without accidentally touching other non-combination objects, the function of combination mask has been added. Double-clicking any object in the combination on the canvas can enter the combination mask. After entering the combination mask, other non-combination objects cannot be selected. You can double-click or press Esc to exit the combination mask.
Enter the combination mask, the normal brightness display in the visible mask area on the canvas, and the gray coverage effect outside the mask area.
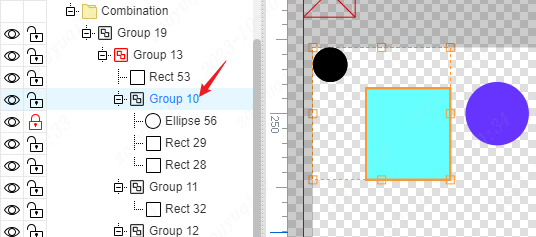
Nested group need to be entered step by step. Every time you double-click an object in the group, switch to the next level of group mask, and only after entering the minimum group where the object is located can the object be selected on the canvas.
The object tree on the left directly selects the objects in the group, and you can directly enter the mask of the smallest group to select them. The group icon displayed in red indicates that the current canvas is under the group mask.
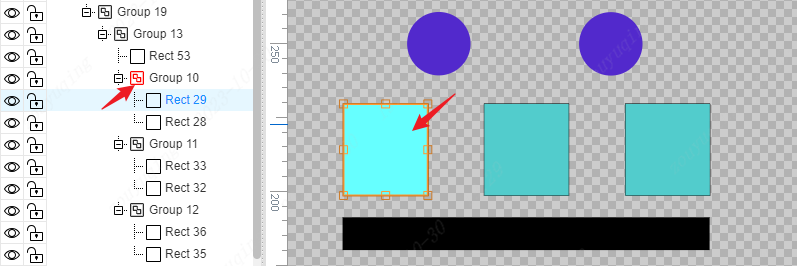
Under a group mask, new primitive objects drawn will be automatically added to the group.
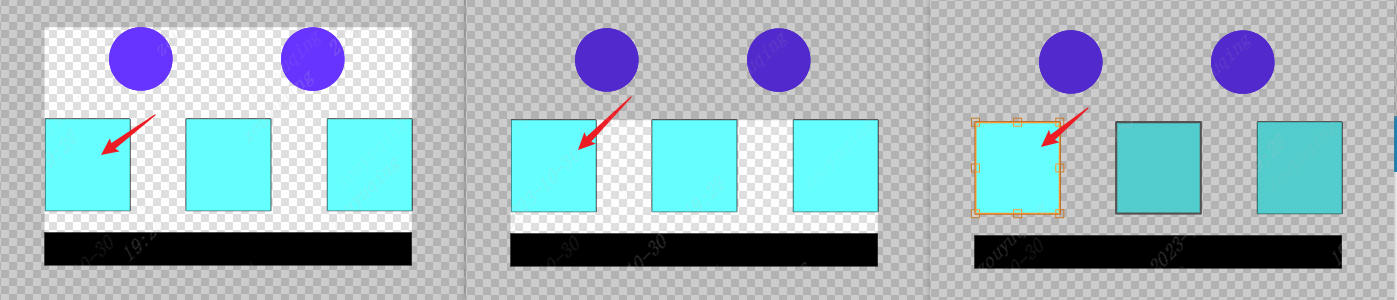
After entering the group mask, all objects in the group will be temporarily elevated and displayed above all non-group objects, while the hierarchical order of objects in the group will be maintained. Exiting the mask will restore the original hierarchical priority display order.
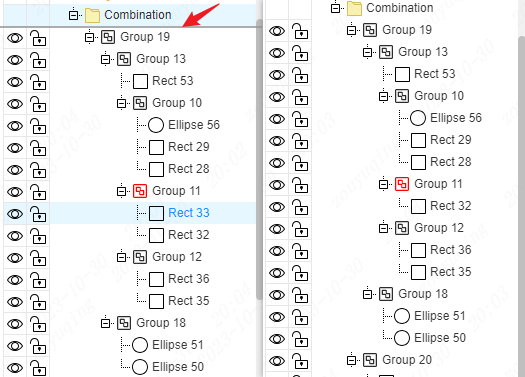
Left group object tree
Anchor positioning
Anchor positioning settings for layers and group have been added to the top of the object tree on the left. The layer is selected by default, that is, the object on the canvas will be displayed first in the layer object tree.
Switch the selected group to quickly locate the group object tree section.
Drag adjustment
- Support directly dragging the object adjustment group relationship of the group object tree part. Sub-group can also be dragged and adjusted as a whole.
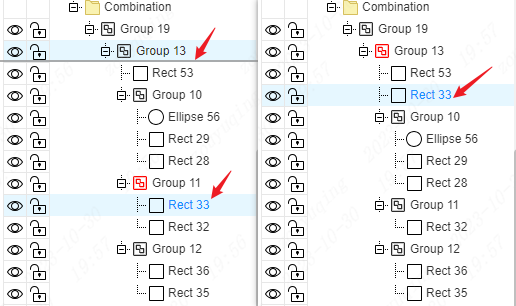
- Dragging to the top of the composite object tree will remove the composite object tree.
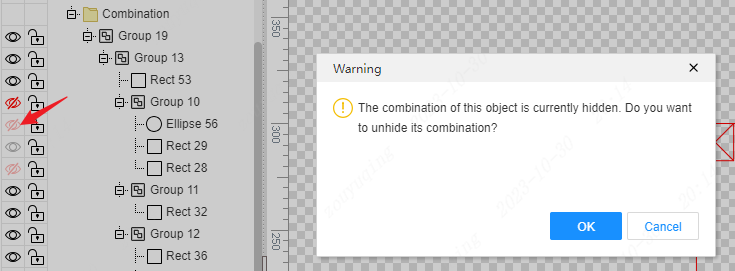
Hidden group
The operation group is hidden, and the objects inside the group are not visible on the canvas. The icon style in front of the objects inside the group in the object tree on the left will remain, but will be displayed transparently.

Click the Hide Show icon in transparent display, and a pop-up window will prompt the current hidden status of the group where the object is located, and ask if you want to cancel the hiding of the group it is in.
Note: When hiding in a group, if you want to switch the hidden display state of the objects in the group, you must first cancel the hiding of the objects in the group.
Locking group
Operation group locking only locks the group itself, and does not batch lock the objects within the group. That is, the group as a whole is locked on the canvas, but under the group mask, the unlocked objects within the group can be freely operated within the group.
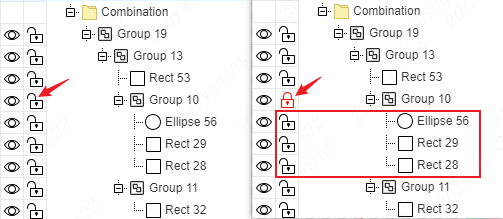
If the object in the operation group is locked, it can only be locked within the minimum group where it is located. When its minimum group is not locked, the entire group can be moved, and it cannot operate the locked group object under the group mask.
 Simply put, the locking of objects within a group is only locked within a certain level of group.
Other group rules
The name of the group is assigned by default when it is created, allowing customization, allowing nullness, and allowing duplication.
Combining in the panel library and placing it on the panel canvas also maintains the group property.
It does not support multiple selection of objects within and outside the group at the same time across group
Allow the existence of empty group, double-clicking on the empty group will also enter the mask mode, and the drawing element will be automatically added to the group.