Component Symbols
Creation of Component Symbols
Component symbols are the elements placed within the schematic diagram, which require the connection of pins, the setting of pin names, and other operations.
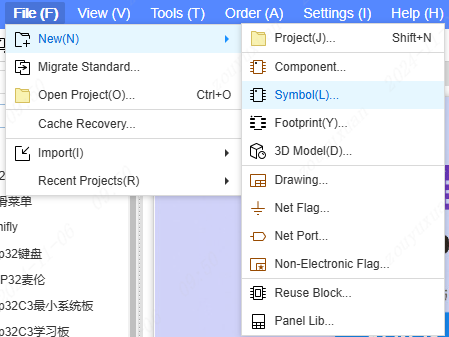
Entry 1: Top menu - File - New - Symbol.
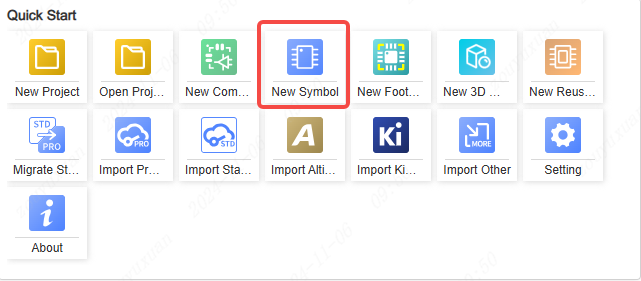
Entry 2: Home page - Quick Start - New Symbol.
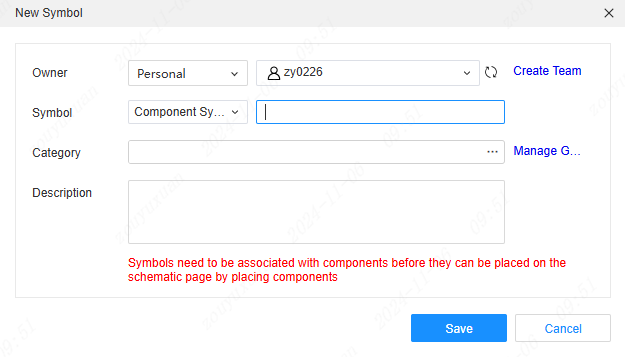
In the "New Symbol" pop-up window, edit the symbol name, category, and description.
The steps for creating a component symbol are as follows:
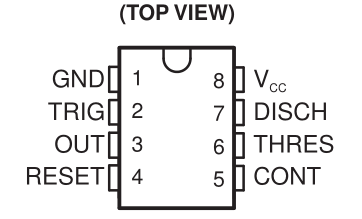
- Obtain the component datasheet to acquire the symbol style and pin information. For instance: https://item.szlcsc.com/8070.html
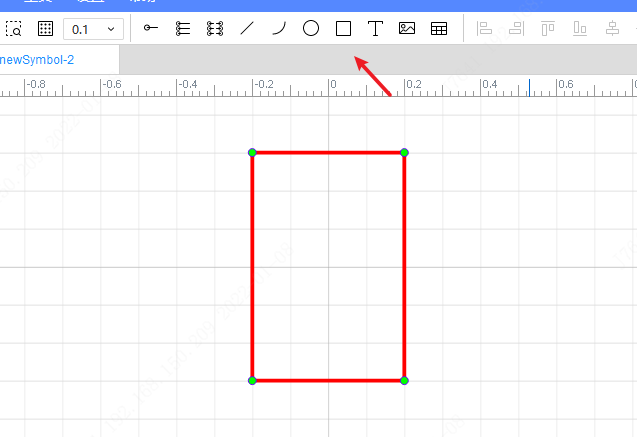
- Draw a rectangle as the component graphic.
- Place the pins. Shortcut key: P. Entry: Top menu - Place - Pins.
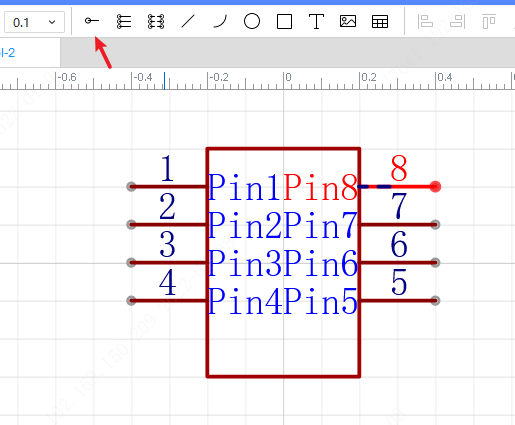
- Set the pin numbers and names. Double-click on the pin number or name for modification, or click on it in the left pin list and modify in the right property panel. Adjust the orientation of the pins based on the actual situation to facilitate drawing connections.
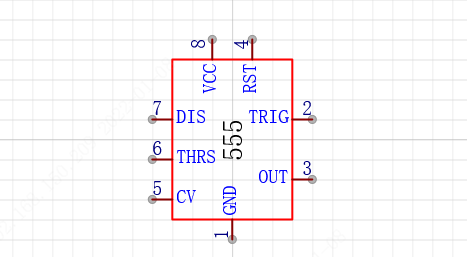
- Set the name and position number value of the symbol in the left property panel, such as U?
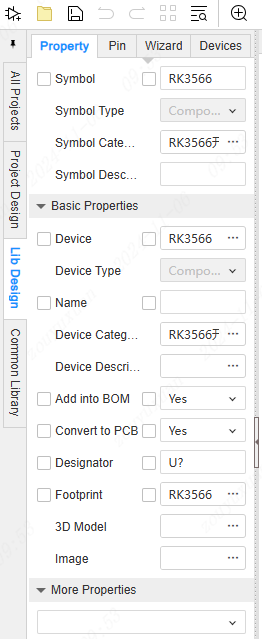
- Save to complete the creation. After saving, it can be found in the component library at the bottom panel: Bottom panel - Component Library - Symbol - Personal.
If it is necessary to create a sub-library or a symbol library with multiple components, please refer to the following content.
Note: It is mandatory to create a device with the same or a different name and bind the created symbol to it before it can be placed and used in the schematic.
Creation of Sub-Library/Multi-Component
When an element has an excessive number of pins, drawing all of them in a single library file will consume a considerable amount of space. Therefore, it is feasible to create a sub-library (also known as a multi-part device, parent-child library, or multi-component symbol, etc.) to combine multiple symbols of the element. All sub-libraries together form a complete element. Each sub-library corresponds to the same package, with only the pad numbers being different.
Operational Steps:
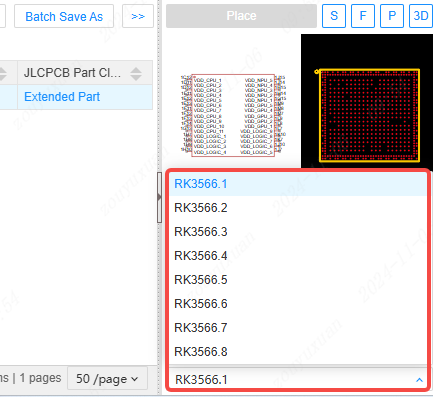
- Open or create a symbol library file, and the sub-libraries of the element can be viewed in the bottom menu bar.
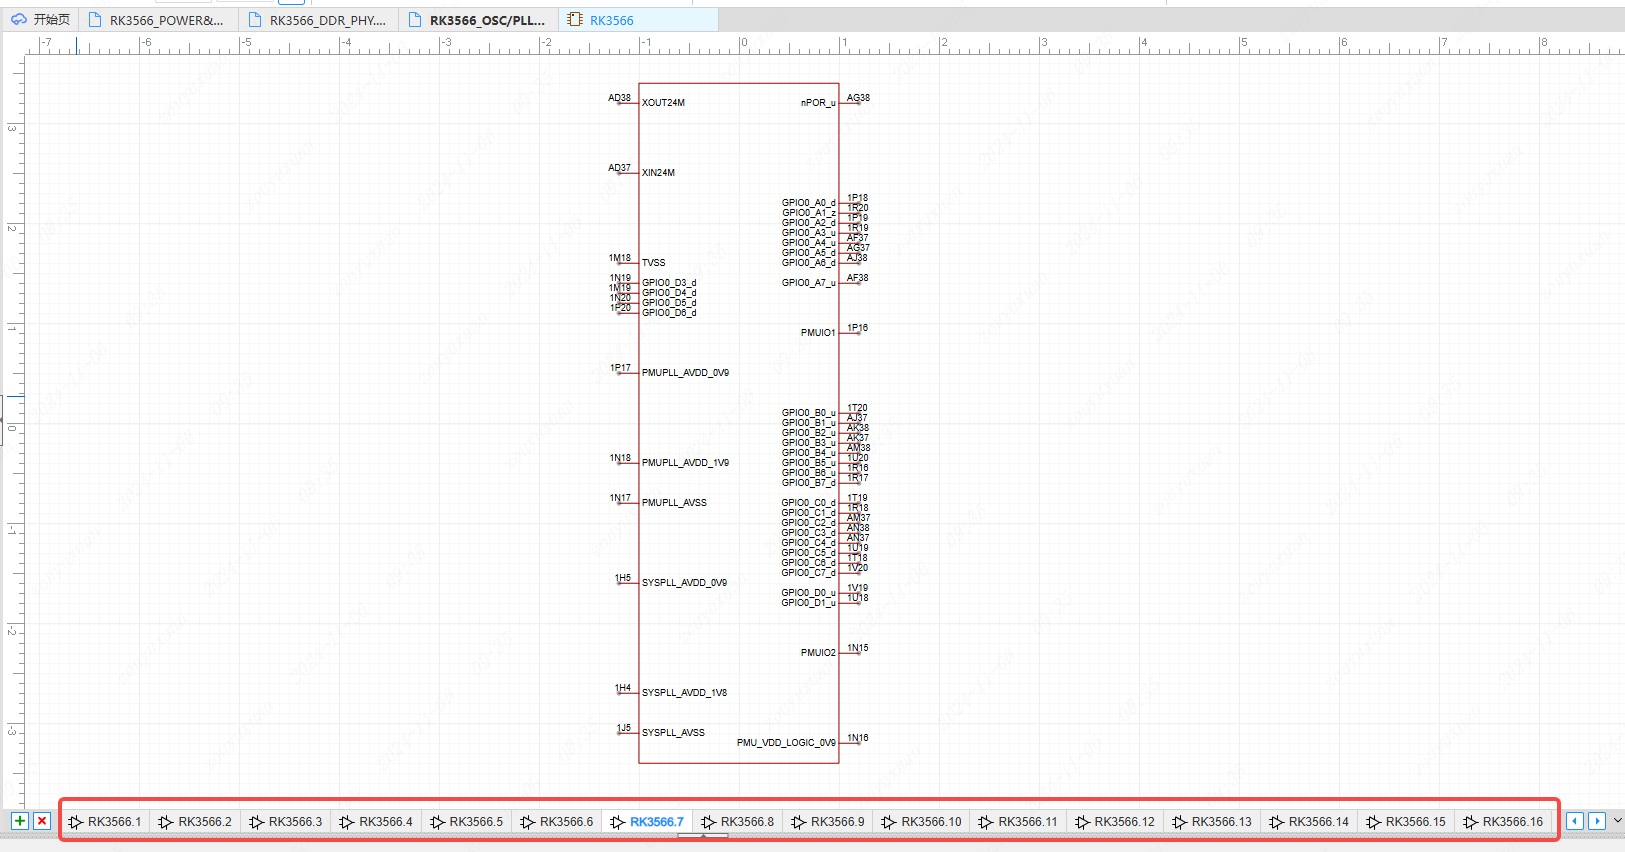
- Click the '+' on the left side of the menu bar to add a sub-library.

- Each time a sub-library is added, a sub-library file with a name containing.1,.2,.3, etc. will be generated.
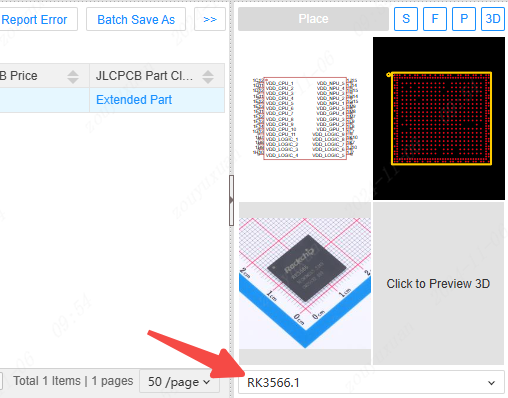
- For components with sub-libraries, only one package needs to be specified in the parent library. If you specify a different package for each sub-library, JLCPCB EDA will retain the last specified package as the component's package.
- The part numbers of the sub-libraries must be consistent with those of the parent library.
- After the creation of the sub-library, the sub-library directory can also be viewed in the component library.
Click the bottom button to display the detailed sub-library directory.