canvas
Canvas
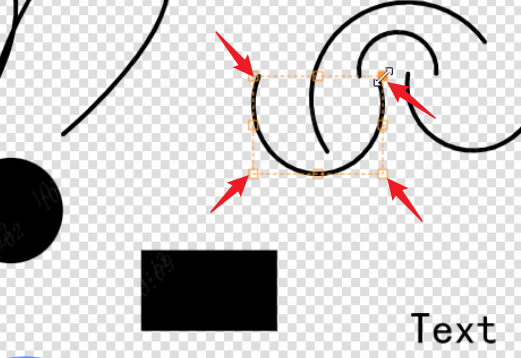
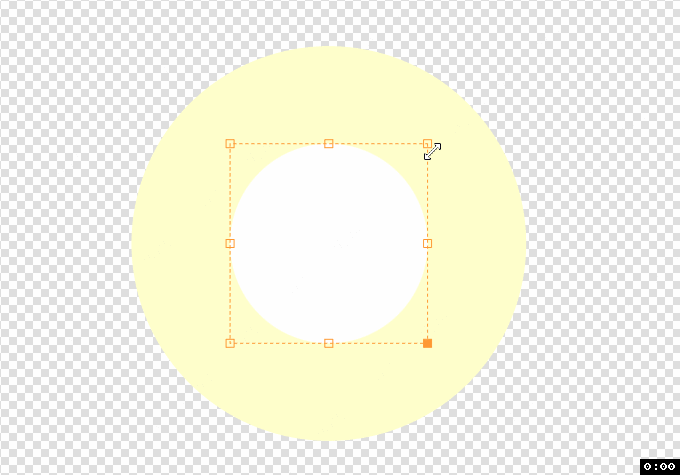
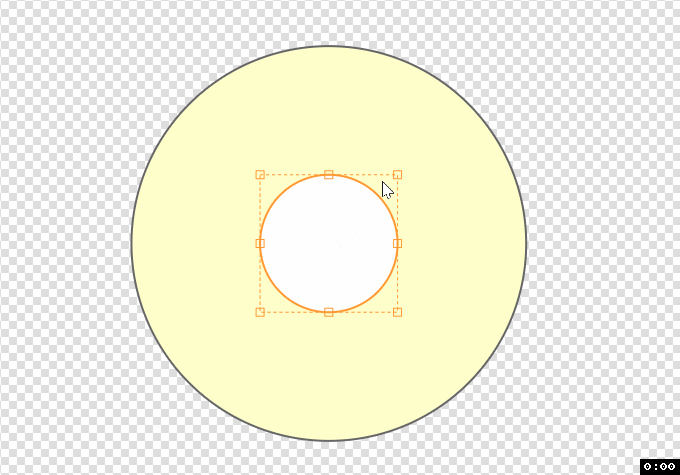
Eight-point control
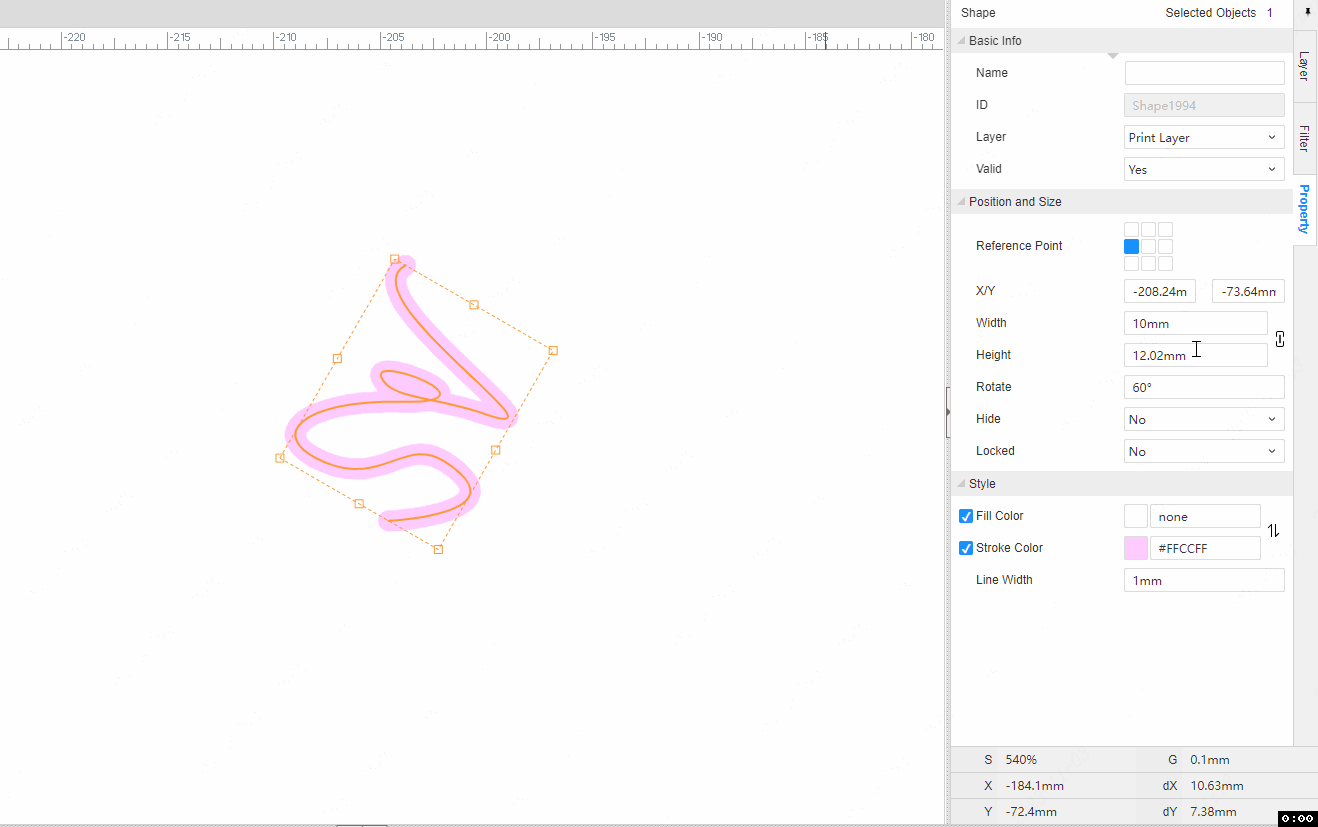
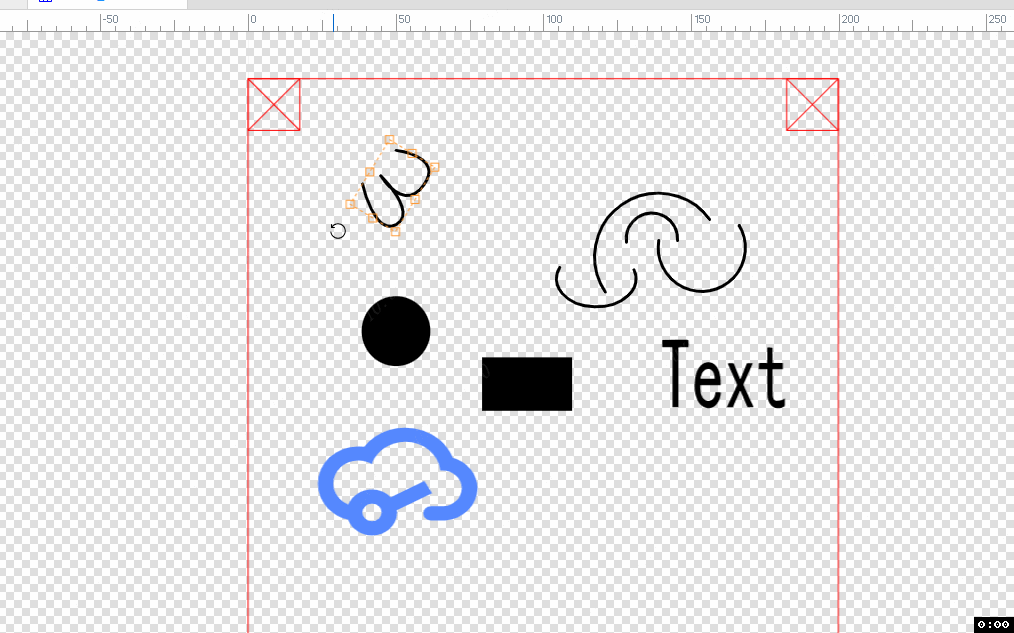
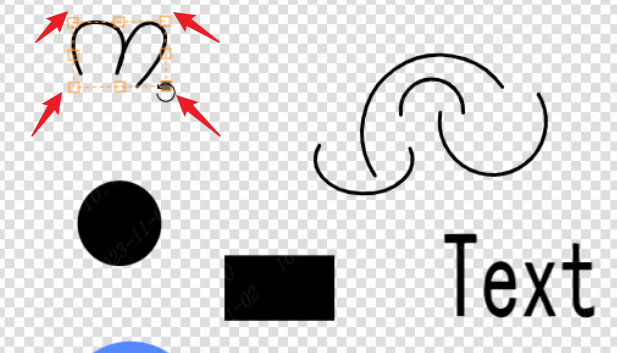
In the panel, the completedShape、Arc、Ellipse、Rectangle、Text、Imagethese ordinary elements are selected on the canvas to display the 8-point control box. 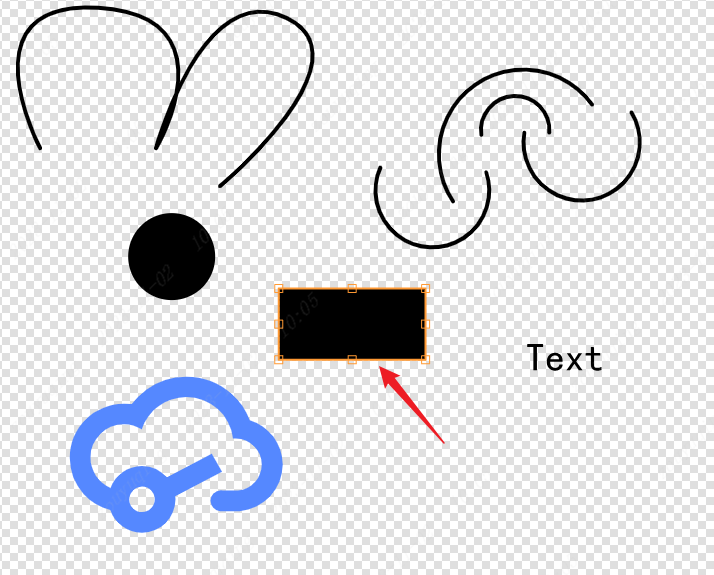
The smart dimension, auxiliary line, auxiliary point, and dimension of the assist drawing layer do not provide 8-point control.
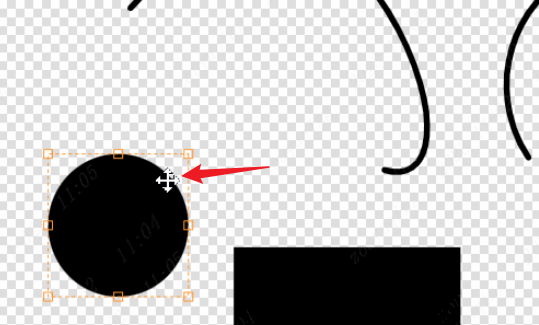
Stretching
Eight control points can control the stretching of the primitive. Move the mouse to the corresponding control point to display the cursor of the corresponding stretching type, and hold down the left mouse button to perform the stretching operation.
The left and right center are the horizontal stretching control points, which will maintain the position of the symmetrical edge. The horizontal stretching changes the width of the primitive.
The vertical stretching control points in the upper and lower middle will also maintain the position of the symmetrical edge, and the vertical stretching will change the height of the primitive.
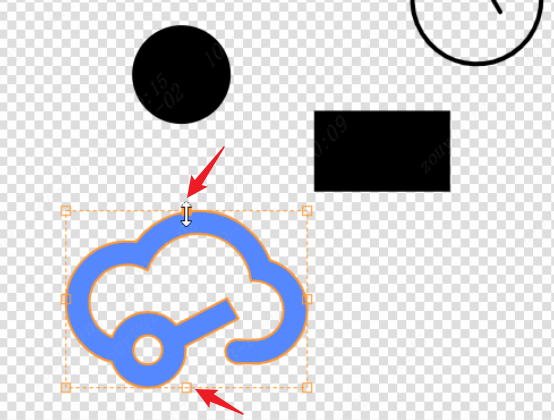
Dragging the control point on vertex 4 for stretching will simultaneously change the width and height of the primitive and maintain the position of the symmetry point.
 Hold the key Shift on the 4 vertices and drag it to keep the aspect ratio of the primitive stretched.
The border controlled by 8 points also supports resizing, and the function of adjusting the size of the control points is the same. Move the mouse over the border to display the corresponding type of stretched cursor.
Center Fixed Stretching
Support keeping the key Ctrl, dragging any control point on the 8-point control box will stretch the center of the element as a fixed reference.
Support holding the key Ctrl + Shift, dragging any control point on the 8-point control box will keep the aspect ratio stretching change with the center of the element as a fixed reference.
Rotate
The rotation angle can be adjusted at the 4 vertices controlled at 8 o'clock. Move the mouse to the outside of the 4 vertices to display the rotating cursor. Press and hold the left mouse button to rotate.
- When the mouse moves to the outside of the vertex 4 to display the rotating cursor, the Shift key can be rotated in 45 ° steps.
Drag
After selecting the element, the areas in the 8-point control box are all drag functional areas. Move the mouse to the 8-point control box to display the drag cursor, and hold down the left mouse button to drag the element.
Mask Mode
Currently, not only are there masks in the panel, but also masks for arcs and shapes. When entering the mask mode, the canvas displays a gray mask effect outside the mask area, and the normal brightness inside the mask is displayed.
Masks are double-clicked to enter, double-clicked or pressed Esc to exit.
The elements inside the mask can be selected and edited normally, while the elements outside the mask cannot be selected and operated temporarily.
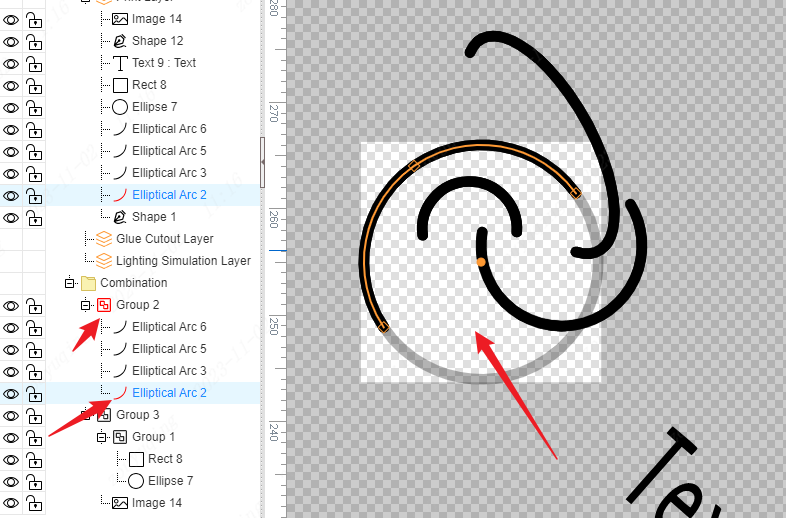
After combining arcs or shapes, double-click the first time to enter the combination mask, and double-click again to enter the arc or shape mask. Exiting will also double-click to exit the arc or shape mask first, and double-click again to exit the combination mask.

Draw Interaction Rules
Right click to exit drawing
All primitive drawing in the panel starts with the left mouse button. The first right mouse button will exit the drawing of the primitive in the current drawing, and the second right mouse button will exit the drawing mode.
Note: Pressing Esc will directly exit the drawing mode.
Select Highlight
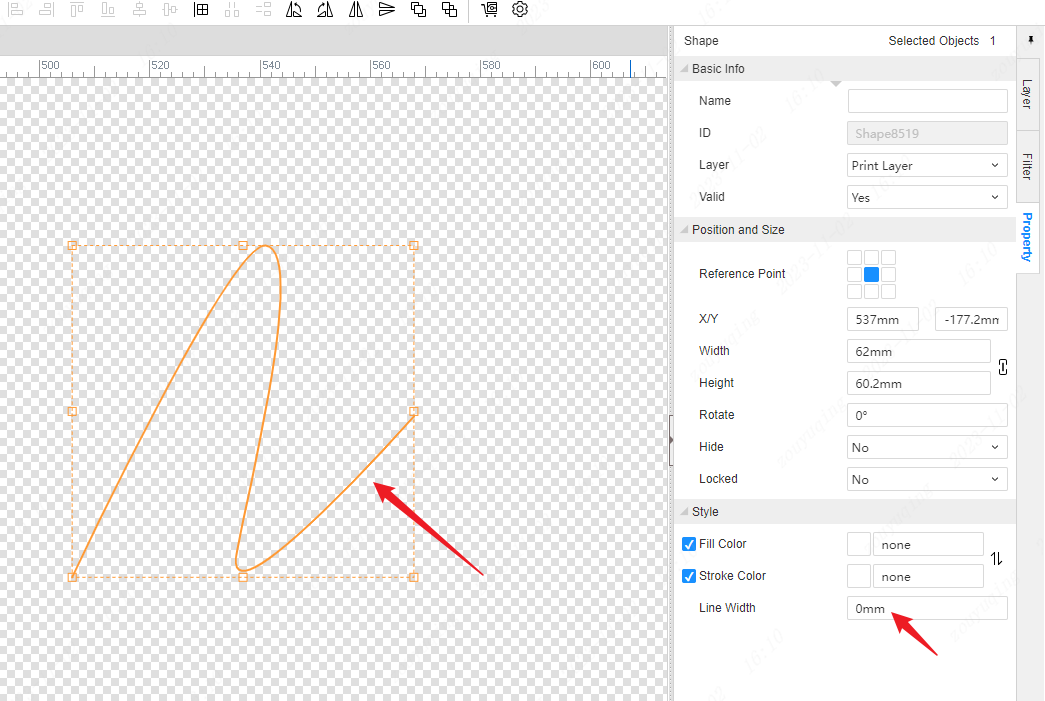
After the panel element is selected, the element outline path will be highlighted. The highlighted line width style is fixed and does not follow the element's own line width. The color follows the selected theme color, which can be customized in the settings pop-up window.
For example, as shown in the figure below, even if the line width is set to 0mm, it will still be highlighted.
Drag Adsorption
During the dragging process of the panel element, when the key point of the dragged object contacts the key point of other objects on the canvas, adsorption is triggered. A small red cross is displayed at the key point, and when the adsorption distance is reached, adsorption is performed and a small red dot is displayed.
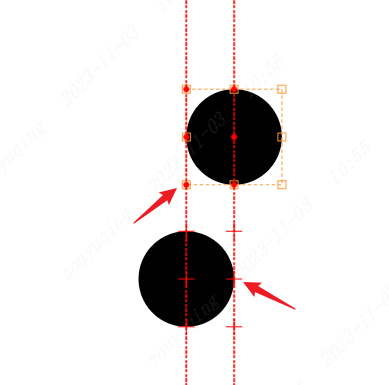
The virtual line that runs through the canvas is the adsorption auxiliary line.
Right-Click Menu
Canvas
The item displayed in grey out does not support the operation.
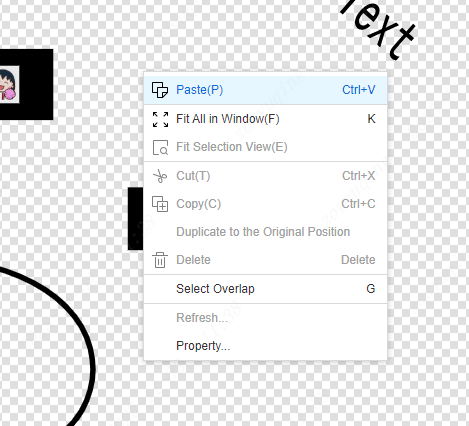
Paste:When there is content in the clipboard, the paste menu can be operated, otherwise grey out is displayed.
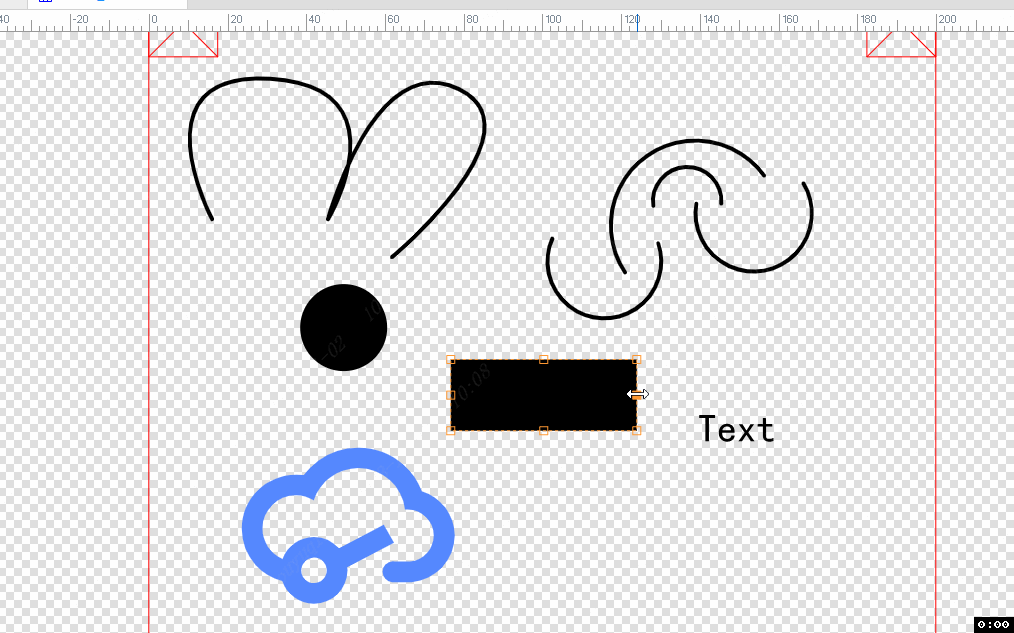
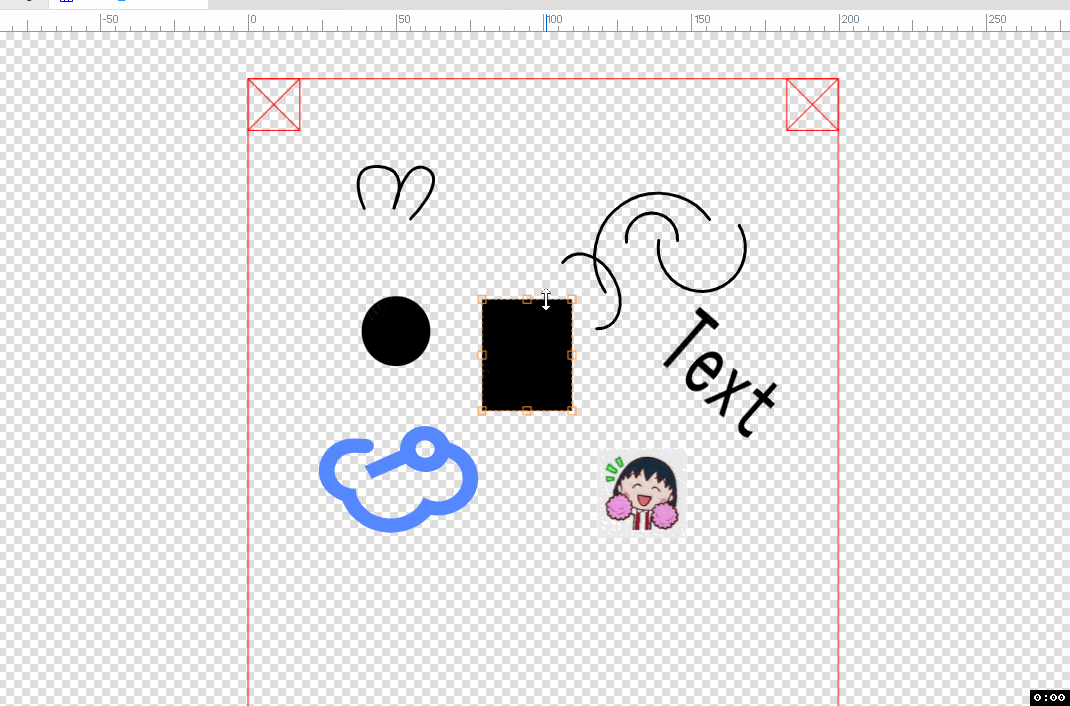
Fit All in Window:all elements on the canvas will be centered and occupy the entire canvas display, you can see all elements on the current canvas.
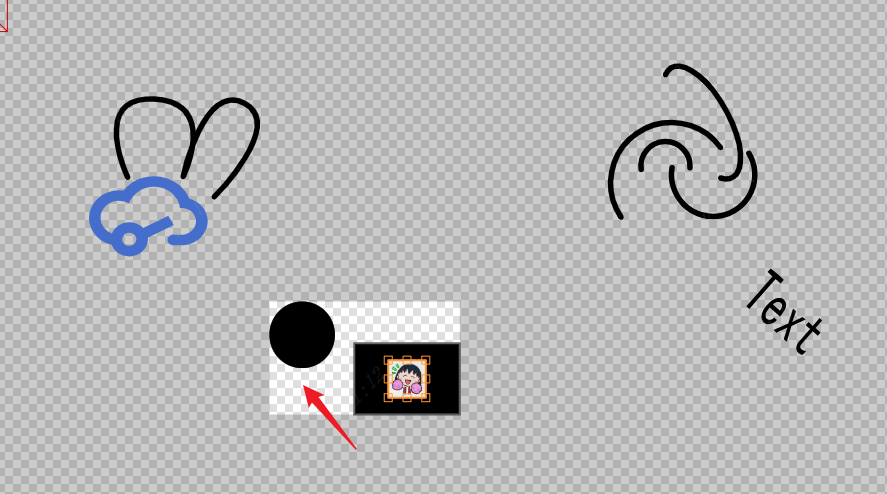
Select Overlap:will be selected by the mouse graphics overlap all graphics information is displayed, you can arbitrarily select the occluded graphics, easy to select.
Property...:The property panel on the right will open to view the property information of the current page.
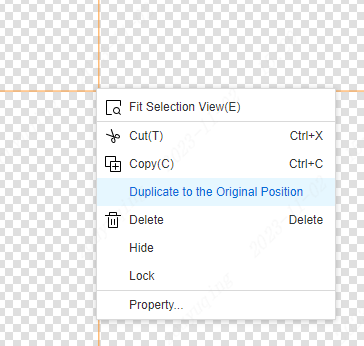
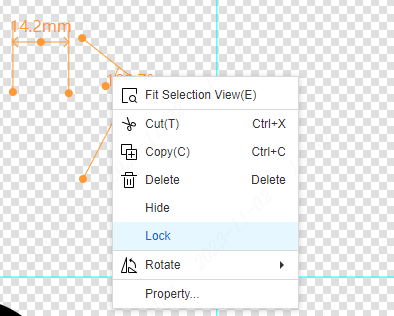
Ordinary primitive
Shape、Arc、Ellipse、Rectangle、Text、Imagethese are called ordinary elements of the panel, and the right-click menu items are consistent.

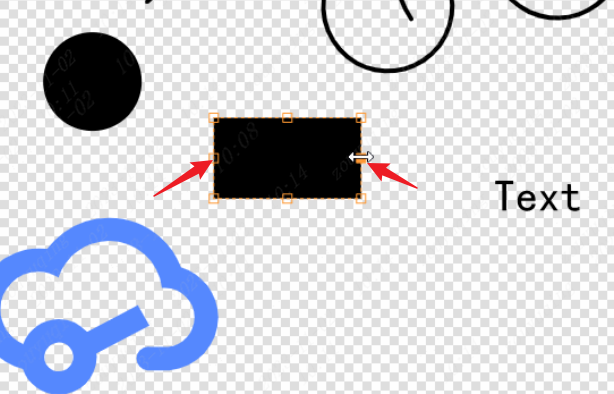
Fit Selection View:Scale the canvas so that the selected object centers and fills the entire canvas display.
Cut: Cut the selected primitive to the clipboard. The cut primitive disappears from the canvas.
Copy:Copy the selected primitive to the clipboard. The copied primitive remains on the canvas.
Duplicate to the Original Position:equivalent to copying and pasting the same graphic in the original position. Equivalent to operations Ctrl + C and Ctrl + V (paste in situ)
Delete:Delete the selected element, usually directly click Delete to delete the operation.
Hide: You can hide the elements on the canvas is not visible, the operation of the hidden menu is not unchecked, there are 8 control box, the right-click menu in the Show menu can be unhidden.
Lock : You can lock the element on the canvas. Similarly, when the locked element is selected, the unlock menu in the right-click menu can be unlocked.
Level:- You can move the graphics of the same layer. (Switch between levels of graphics within an editing layer) Note: If you want to display the elements of a certain layer at the top of the visual display, click on the layer on the right to select the corresponding layer as the current editing layer, and the graphics in the corresponding layer will be displayed at the top without being obscured by the graphics of other layers.
Select Overlap: will be selected by the mouse graphics overlap all graphics information is displayed, you can arbitrarily select the occluded graphics, easy to select.
Group:You can create a new combination or add an existing combination. You can also operate to remove the combination and cancel the combination.
Rotate:Select the "Rotate..." menu to rotate at any angle, and customize the rotation angle in the pop-up window. The left rotation and right rotation are rotated 90 ° each time, the left rotation is counterclockwise, and the right rotation is clockwise. Rotate in the direction.
Flip Horizontal, Flip Vertical: Flip left and right is mirroring the vertical axis of the selected object, while flip up and down is mirroring the horizontal axis of the selected object.
Convert:
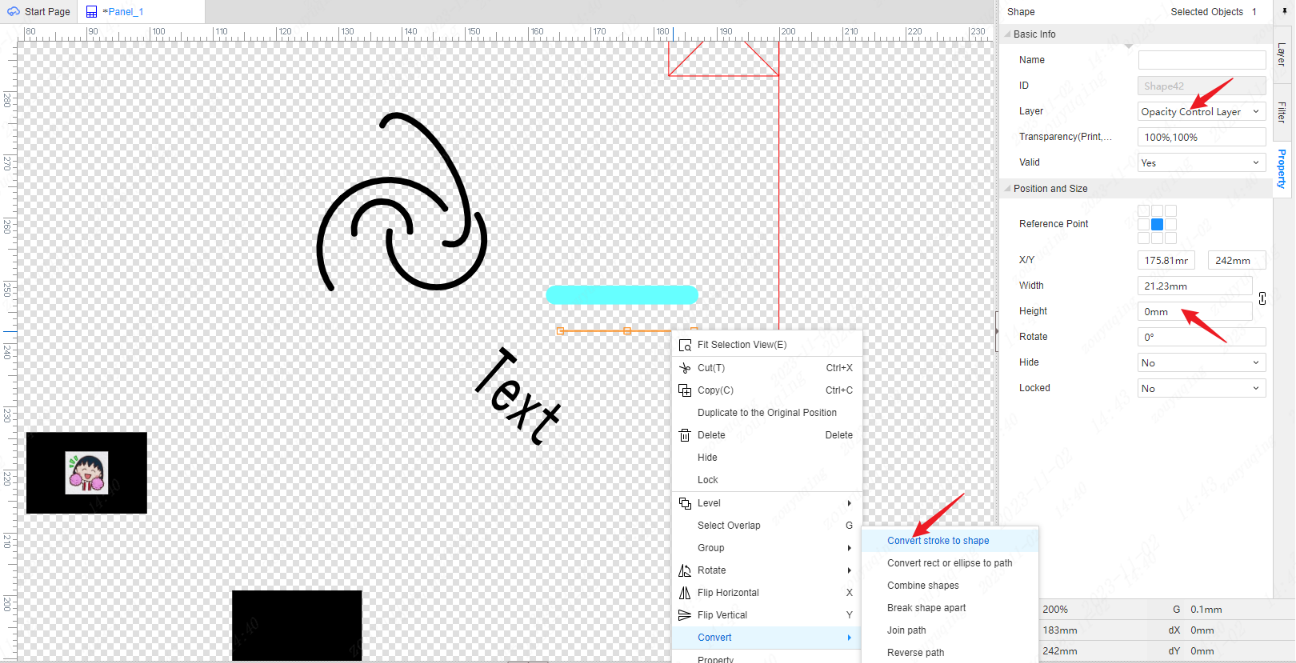
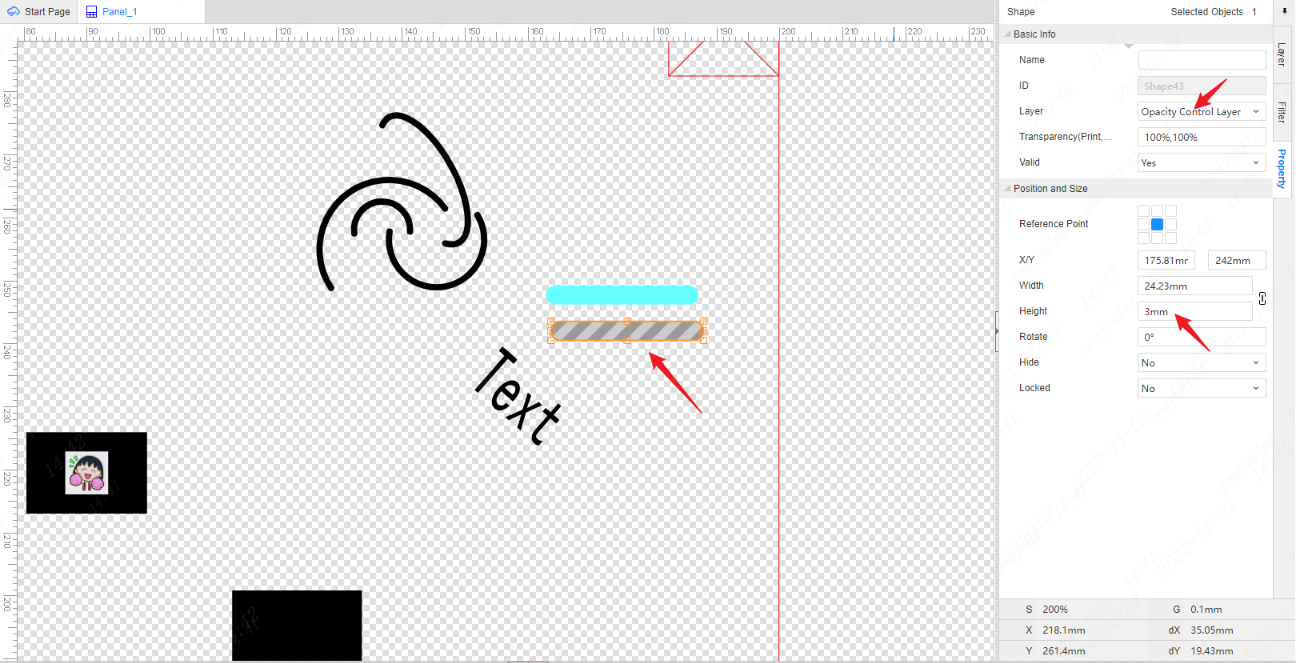
-   **Convert Stroke to Shape**:Strokes can be converted to fill shapes, which can be set to the transparent control layer.
    For example, if you want to set the transparency of a shape with a line width of 3mm on a printed layer, copy the shape and switch the layer to the transparent control layer. After discovering that the stroke of the displayed shape is unfilled, right-click to convert the stroke to a filled shape, and the original stroke area will be converted to a filled area to achieve the expected effect.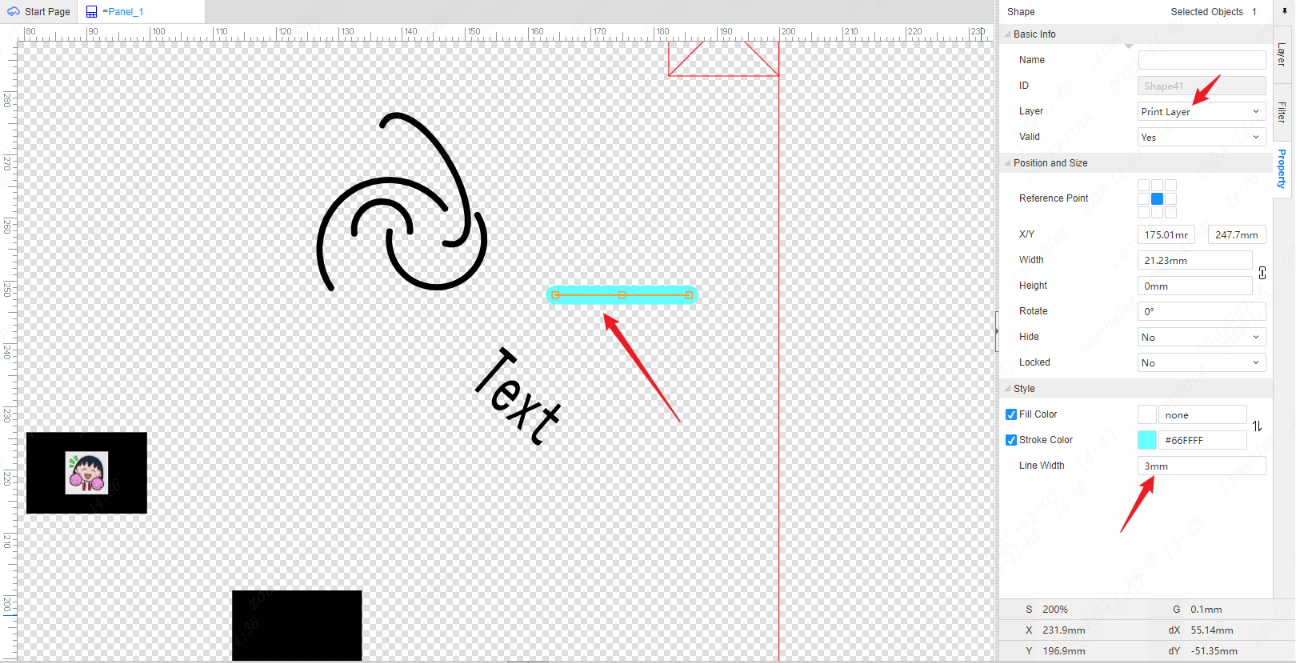
 - Convert Rect or Ellipse to Path:You can convert elements whose properties are rectangles or ellipses into shapes. After having shape properties, you can enter the shape mask for further editing.
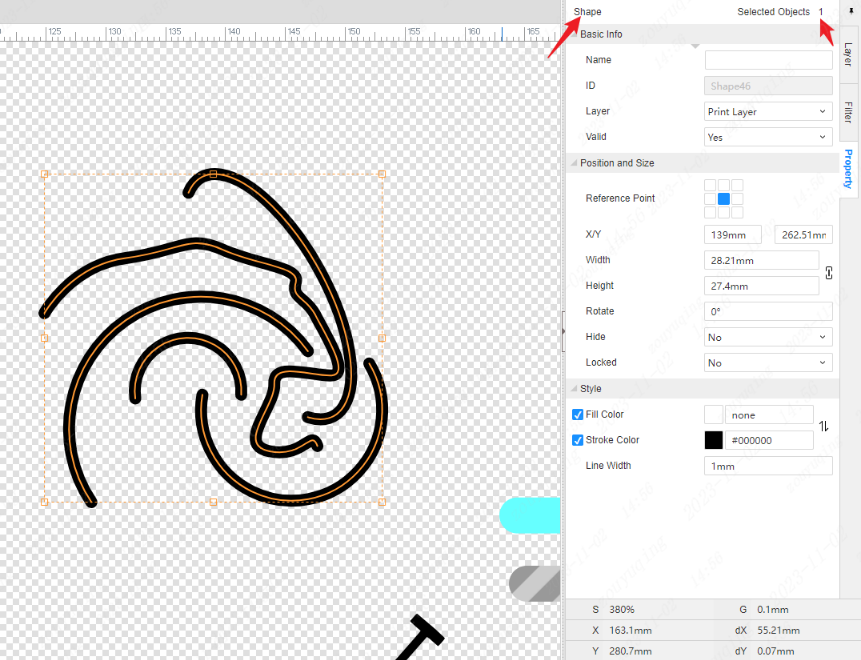
- **Combine shapes**:Multiple independent elements can be merged into one shape element, retaining the original contour path, which is different from the merged area of Boolean operations.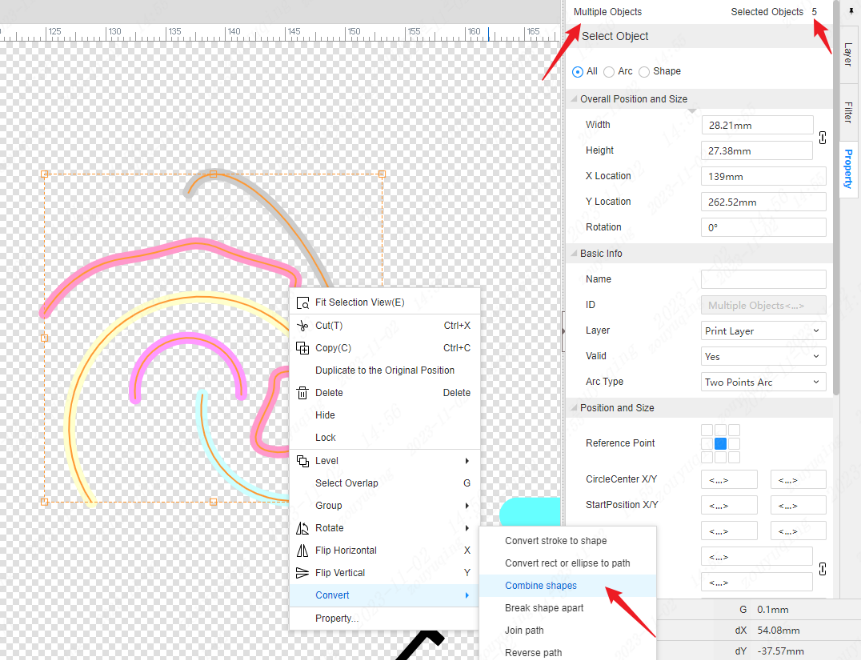
- **Join Path**:can manually close the path. Usually imported DXF There will be many disconnected paths, which cannot be produced abnormally after export. After selecting the path, we can right-click and operate continuous segmented path connection to automatically connect discontinuous paths into closed paths. If filling is performed when the path is not closed, unexpected filling will be generated as shown in the figure below.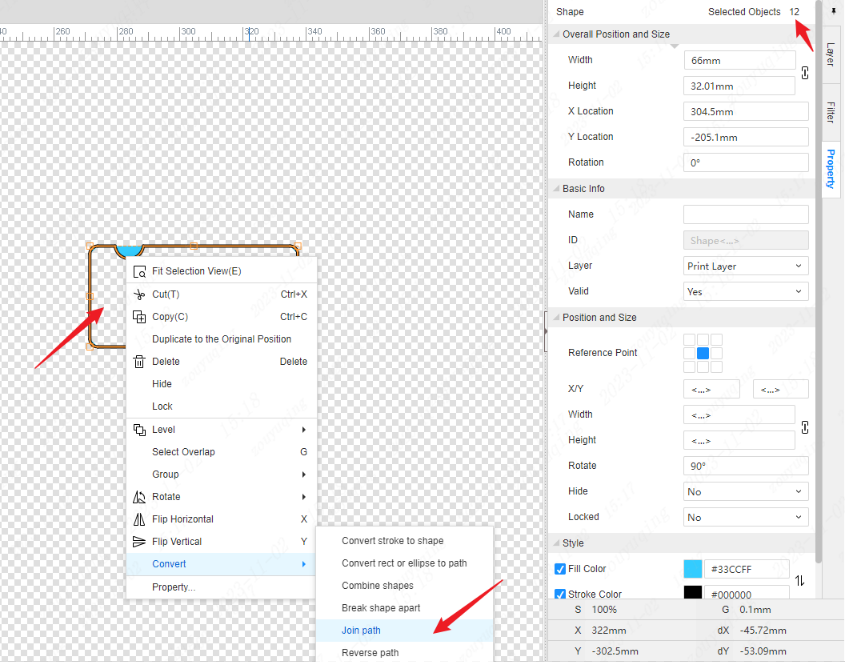 After the path is closed, the filling effect is in line with expectations.
- **Reverse Path**:a shape of the path has a starting point and an end point, reversal is to reverse the starting point and the end point, the naked eye can not see the difference, but the corresponding data changes.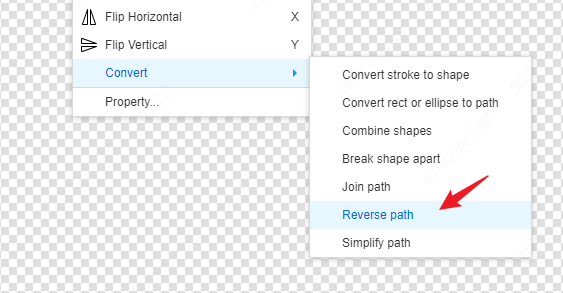
- **Simplify Path**:The original path may have 100 points, and some points will be deleted if they have no effect on the shape. After simplification, only 50 points may be left. (Significant editing effect when importing DXF)
Property...:You can open the property panel on the right to view the property information of the selected object.
Auxiliary primitive
The intelligent dimensions, auxiliary lines, auxiliary points, and dimensions in the panel are all auxiliary elements, and the right-click menu varies slightly according to their respective characteristics.
Smart Dimension: Right-click menu can operate fewer items, support hiding smart size.
Auxiliary Line, Auxiliary Point:can be cut and copied or repeated to the original position and other operations, support locking auxiliary lines, auxiliary points, easy to assist alignment.
Dimension: You can manipulate the size element to rotate with the measured element.
Flip and Rotate During Placement
After cutting and copying the object, you can flip and rotate the shortcut during the process of pasting to be placed or the process of placing the panel library.
Note: Some special auxiliary elements that are not suitable for flipping or rotating will be filtered out.
Canvas & Right Properties
- When manipulating elements on the canvas (including adjusting position, size, angle, etc.), the properties on the right side are kept updated in real time.
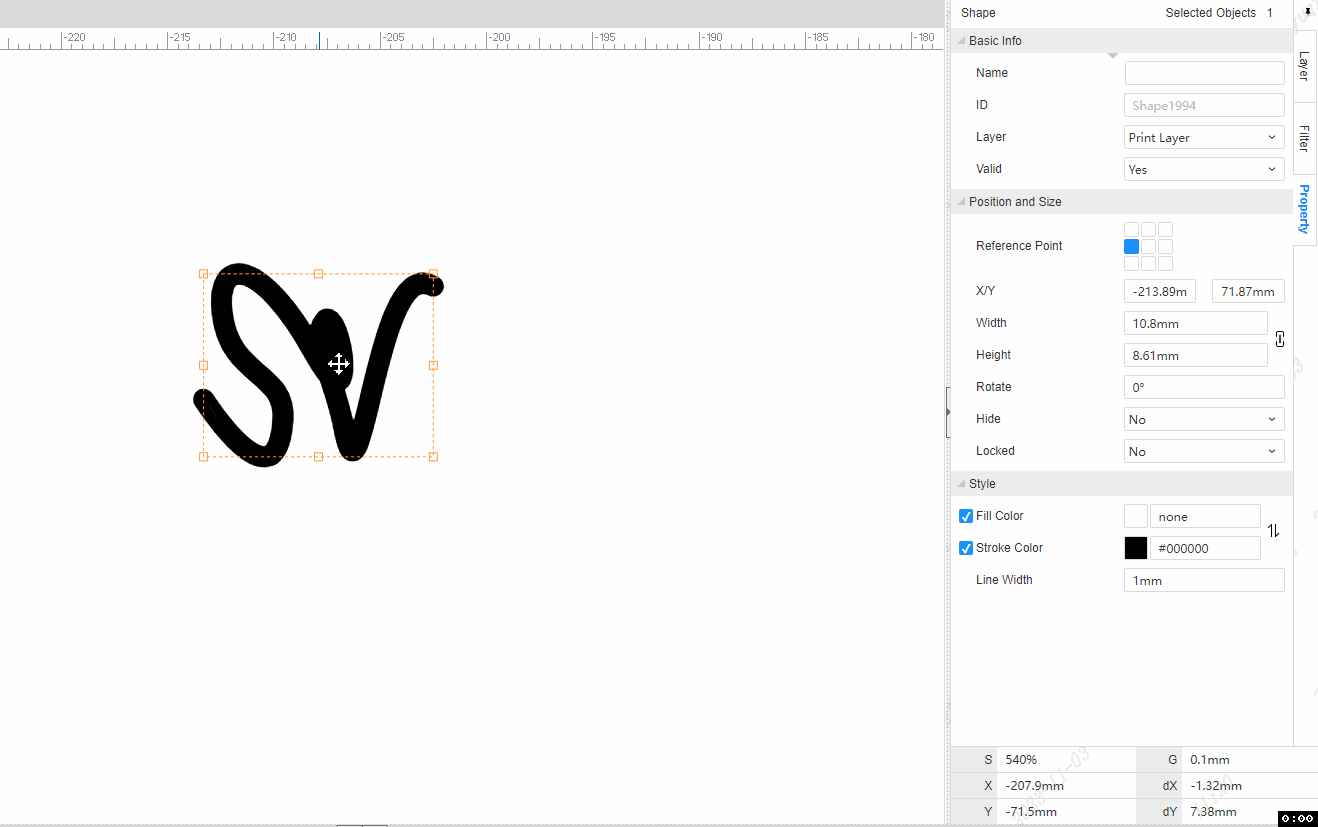
- Adjust the properties in the property panel on the right, and the corresponding canvas will also be updated in real time.