Right Panel - Properties
Right Panel - Properties
Image page properties
Name
The name of the panel design drawing, which is only displayed on the right and does not support modification. However, you can modify the panel name in the project on the left to sync to the right panel.
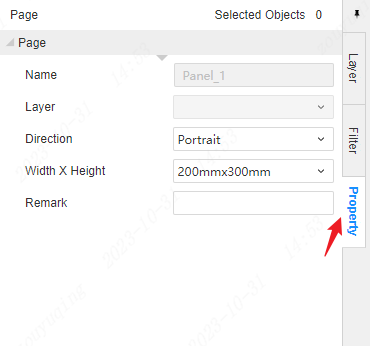
Layer
The layer display of the design drawing is not modifiable by default and can only be modified if the drawing is selected.

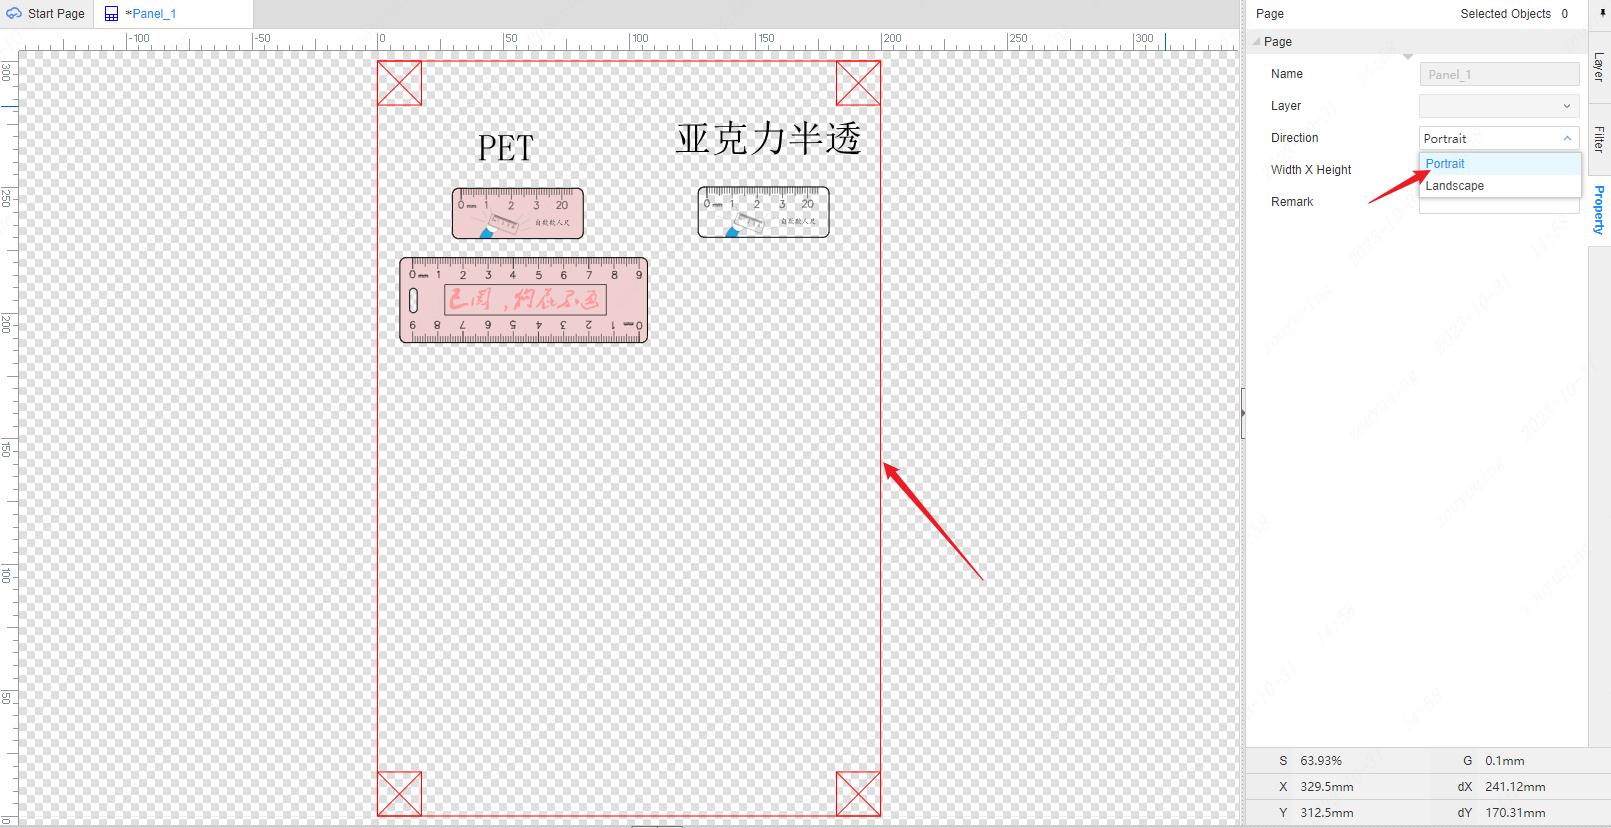
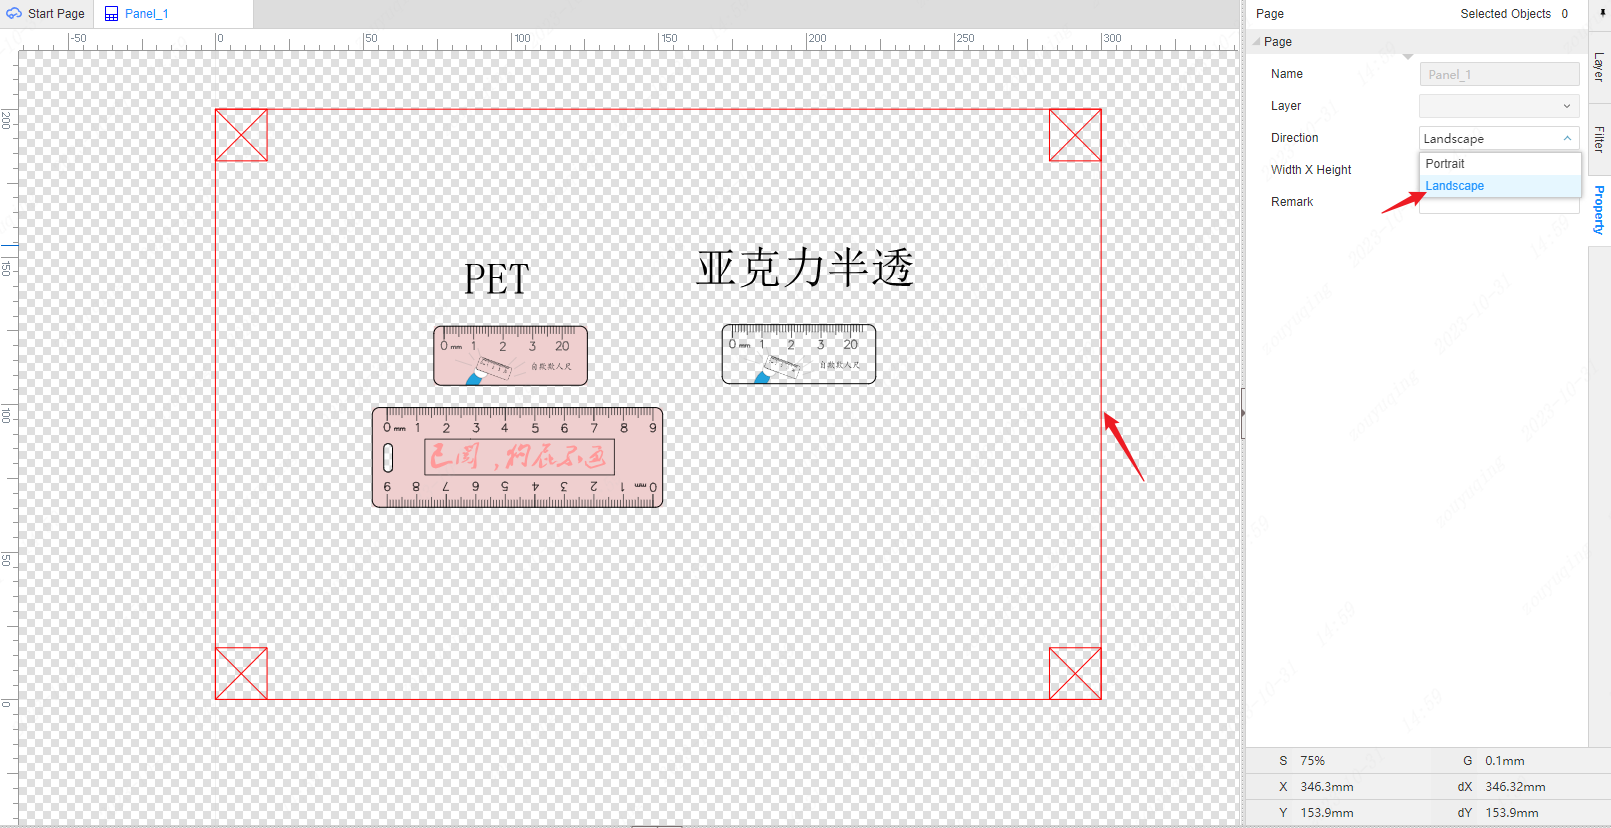
Direction
The direction of the design frame can be set vertically or horizontally on the design canvas.
Note
The explanatory information used to annotate design drawings is convenient for explaining to assistants or other engineers. Note: It is recommended to fill in the remarks column related to production on the next single page.
Object properties
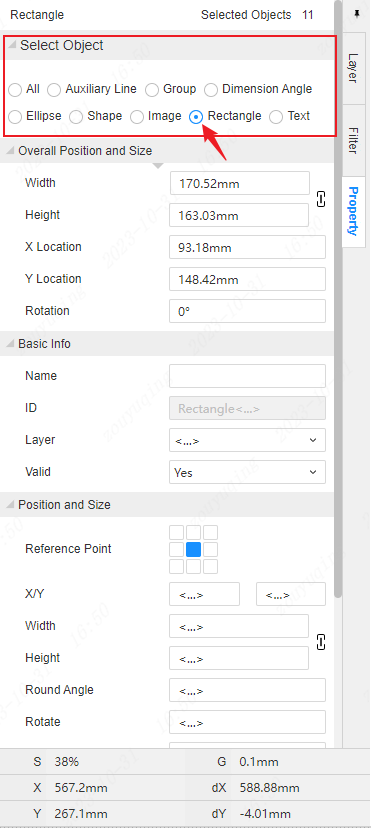
When a primitive is selected on the canvas, its properties can be set in the property panel on the right.
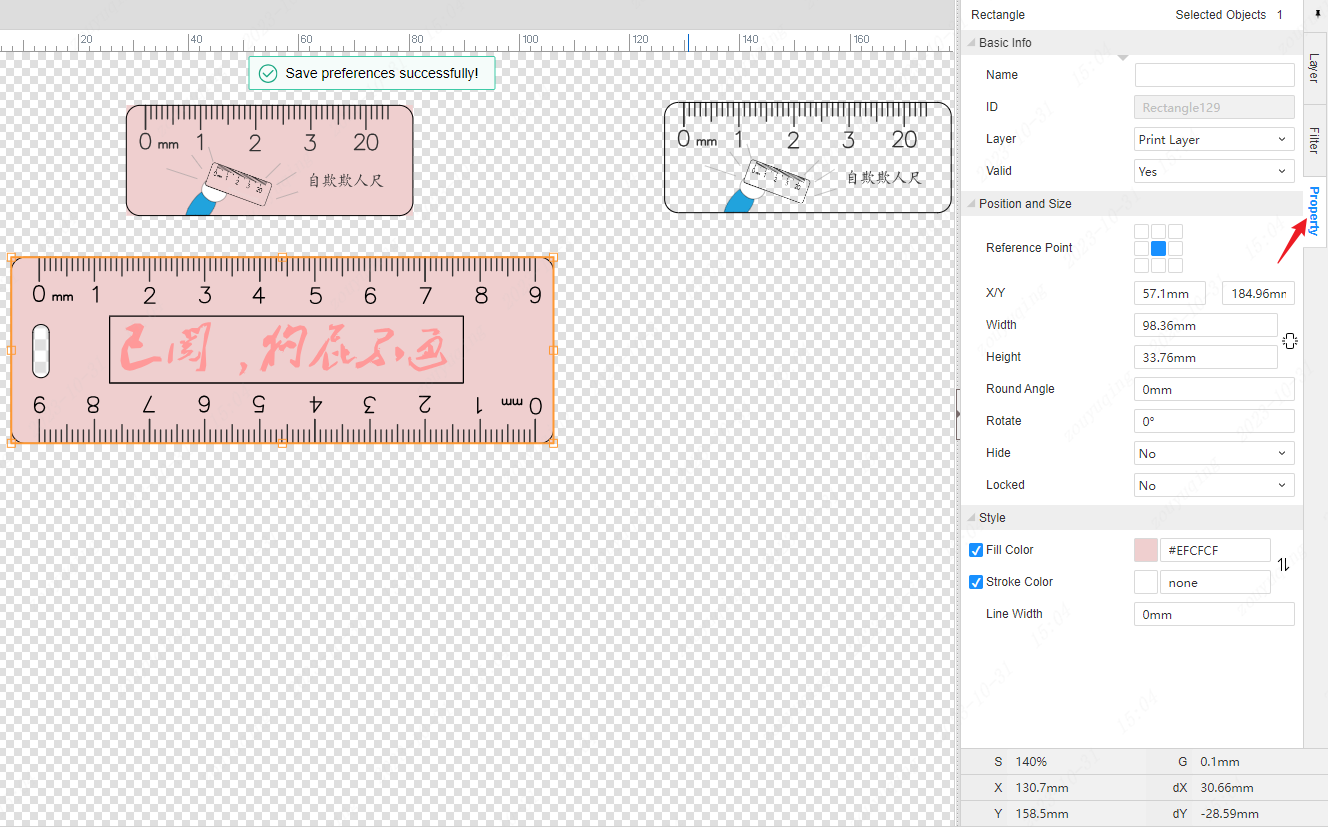
Name
The name of the object supports customization and is usually empty by default.
ID
The ID of the object is assigned by default, consisting of the primitive property type name + sequence number. It only displays and does not support customization.
Layer
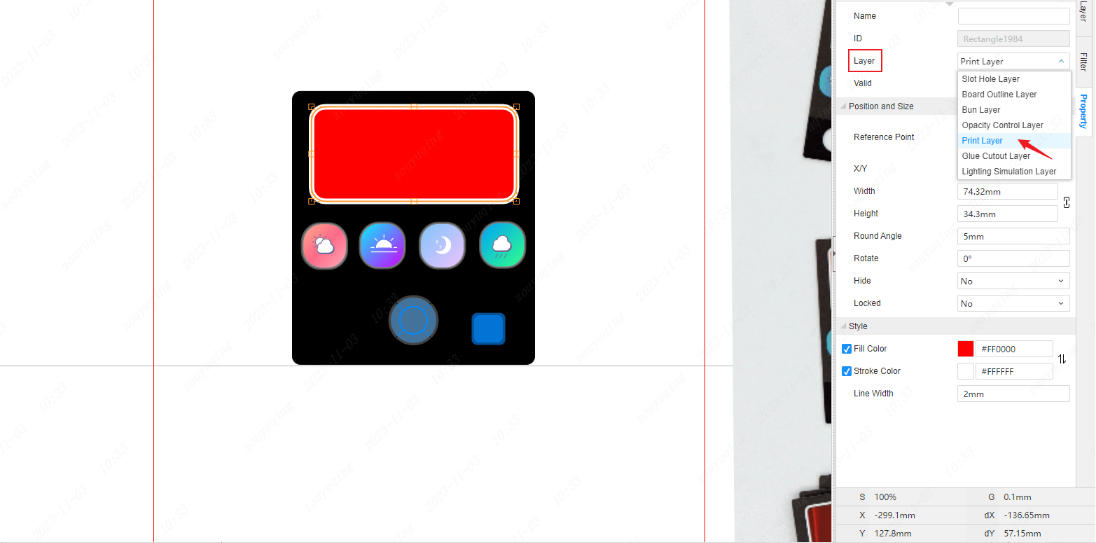
The layers that support switching selection in the layer drop-down box are all the layers that the object allows to draw. Text only supports transparent control layers and print layers, images only support print layers, and auxiliary elements only support auxiliary drawing layers.
After editing the layer properties on the right side of the property, the current editing layer of the canvas will automatically switch to the edited layer. (Consistent with the effect of switching the current editing layer in the layer panel on the right)
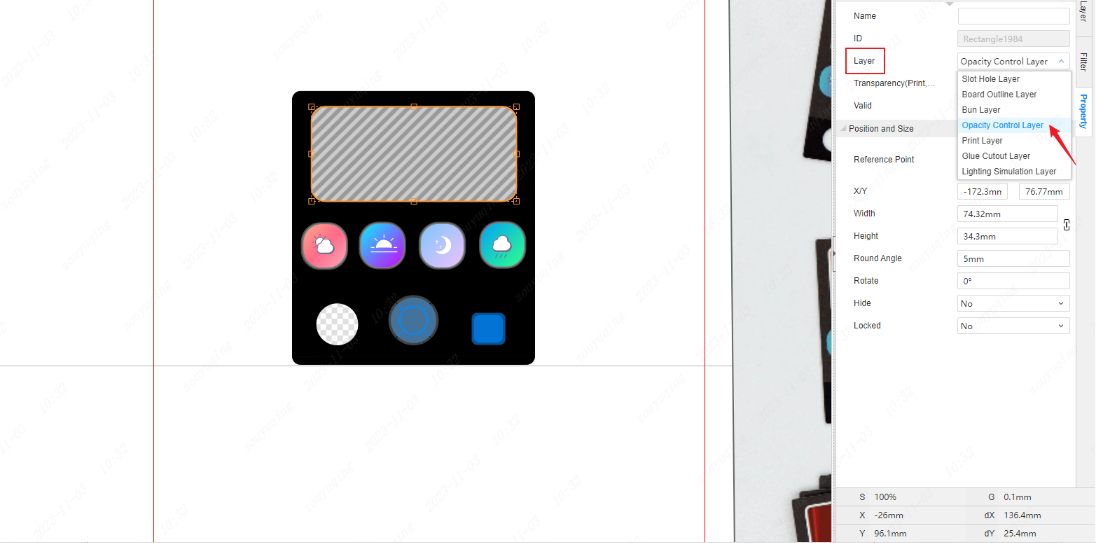
Transparency(Print,White)
To set the transparency of the printing layer and white layer, you can directly enter specific values or quickly set relevant transparency parameters through the coordinate selector below. 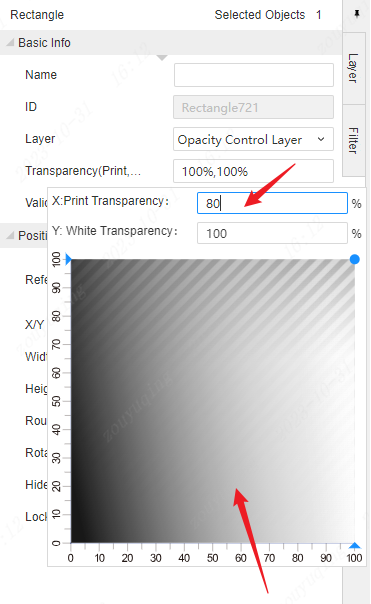
Valid
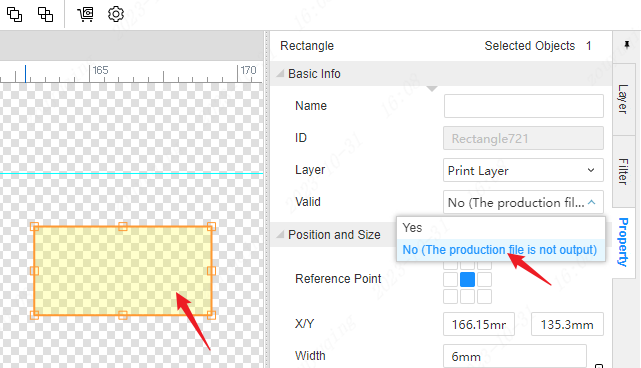
The panel elements drawn by default are all valid and can be set to not be valid in the properties on the right. The information of the object will be kicked out of the actual production file, and a special style highlighted in yellow will be visible on the canvas.
Reference point
Modify the reference point of any object, and the reference points of all objects on the canvas change synchronously, that is, the global object reference point remains consistent.
The same primitive can be deformed differently on the canvas by setting different reference points. For example, when 9 different reference points are set separately, and the ratio of rectangle width and height is reduced to half of the original, the changes shown in the figure below will have different effects

Set the middle point as the reference point, and modify the width and height of the perfect circle on the right side to keep the center of the circle fixed, which is convenient for modifying the size of concentric circles
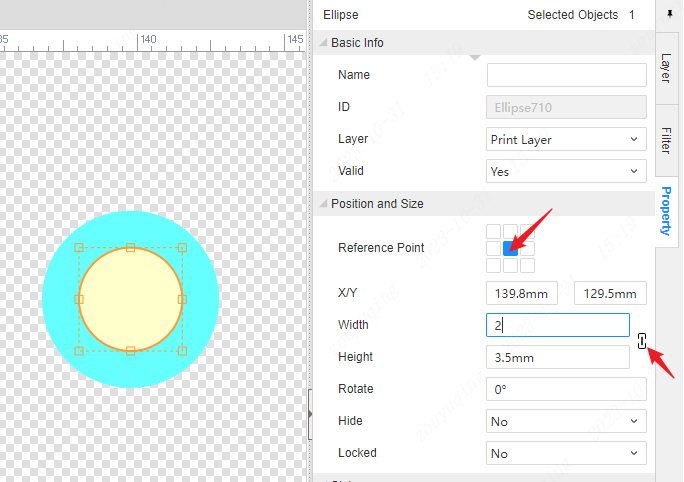
The adjustment results of the rotation angle, width and height dimensions, position coordinates and other attributes of the object are all related to the setting of the reference point.
X/Y coordinates
- The XY coordinate value at the reference point of the object, in mm, supports adjustment.
Width and height The provided here is the width and height value of the object's axis alignment surrounding the rectangle, that is, a rectangle parallel to the coordinate axis, which completely surrounds the primitive, and each edge is parallel to the coordinate axis. 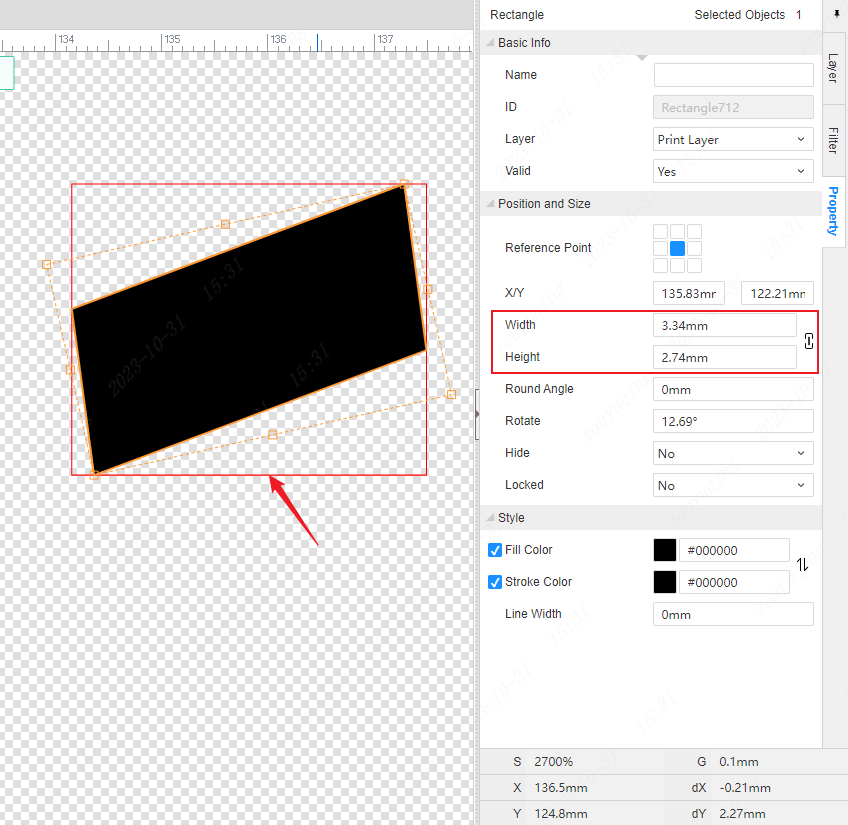
When setting "Keep aspect ratio", only the width value is modified, and the height value will also be updated synchronously according to the original ratio; the same goes for the opposite.  After clicking to switch to not keeping the aspect ratio, modify the width value, and the height value will be kept; the same goes for the opposite.
Round Angle
Currently, only rounded corners of rectangles are supported, and only 4 rounded corners can be set at the same time.
Rotate
The rotation angle value generated by directly manipulating the object on the canvas will be synchronized to the right property. Similarly, the rotation value on the right side is adjusted, and the rotation angle of the object on the canvas is updated in real time.
Hide
The drop-down box can be selected as "Yes" or "No", corresponding to the hidden display settings of the object tree on the left and the right-click menu of the selected object on the canvas. The three settings are linked in real time. Note: Hidden is only temporarily invisible on the canvas and does not determine whether it will take effect in actual production. 
Locked The drop-down box can be selected as "Yes" or "No", corresponding to the lock unlock setting of the object tree on the left and the right-click menu of the selected object on the canvas. The three settings are linked in real time.
Fill Color, Stroke Color
Only objects in the print layer and light simulation layer can be set to fill and stroke styles.
The fill color and stroke color are selected by default, that is, the set color is applied to the current object. Uncheck, the object's fill and stroke color settings remain, but do not apply to the current object. No fill or stroke is visible on the canvas, and there is no fill or stroke in actual production. 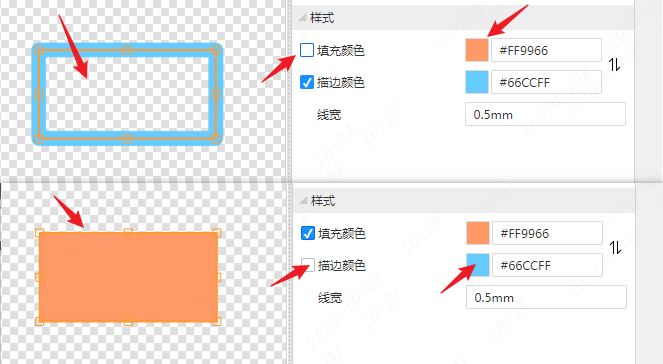
Support for quick swapping of fill colors and stroke colors. Click the "Color Swap" setting icon behind the color value box. 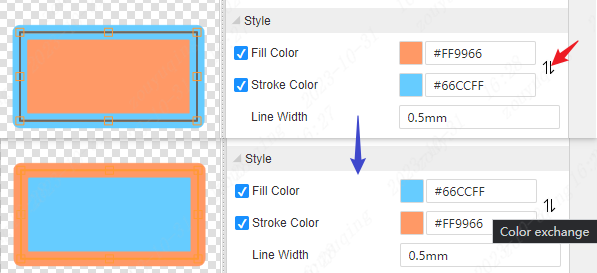
Line Width
The line width of the object drawn by default is 1mm, which supports customization.
For the numerical text box in the property panel, it supports simple four arithmetic input, which will automatically calculate the result. For example, if the width is input: 5 + 3, press enter will automatically calculate 8 and apply it. If the input does not meet the rules, it will be reset to the old value. 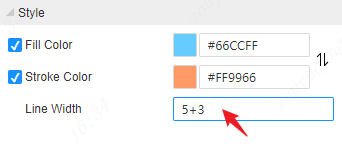
Multi-object properties
When multiple objects are selected, the overall position and size information and other properties can be modified in the property panel on the right.
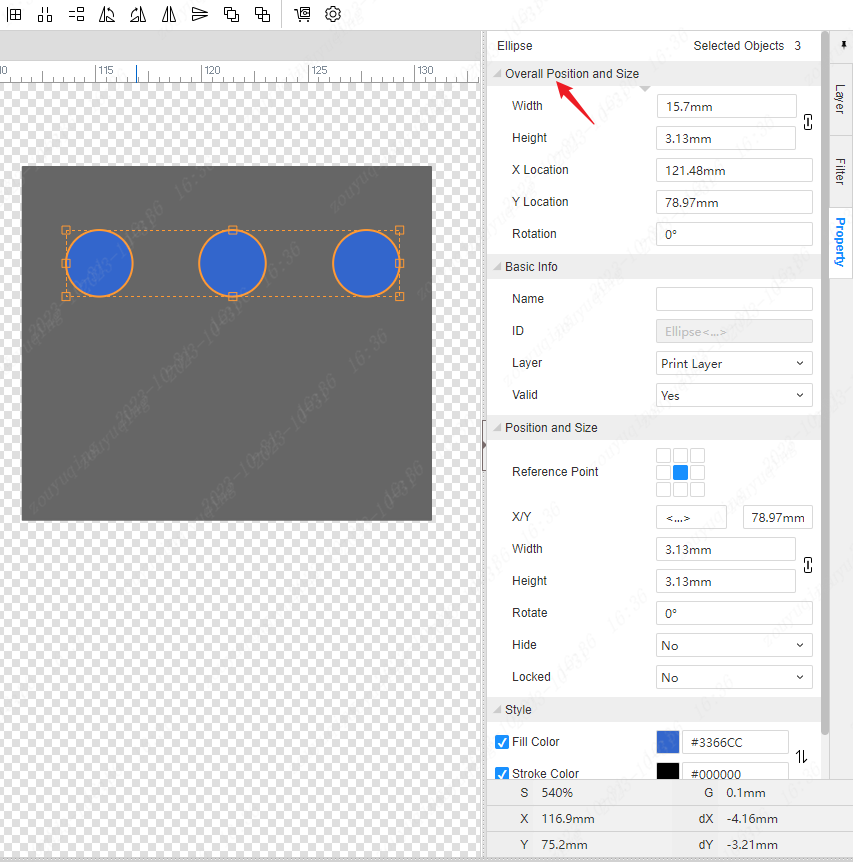
Angle of rotation
The rotation angle here is the angle at which all selected objects are rotated as a whole, which is different from the rotation angle of a single object. Setting the overall rotation angle will increase the rotation angle of each individual object by the same degree of rotation
When selecting multi-object operation properties, be cautious and make batch changes. It is best to select objects at the top and operate objects of the same class in batches each time. 